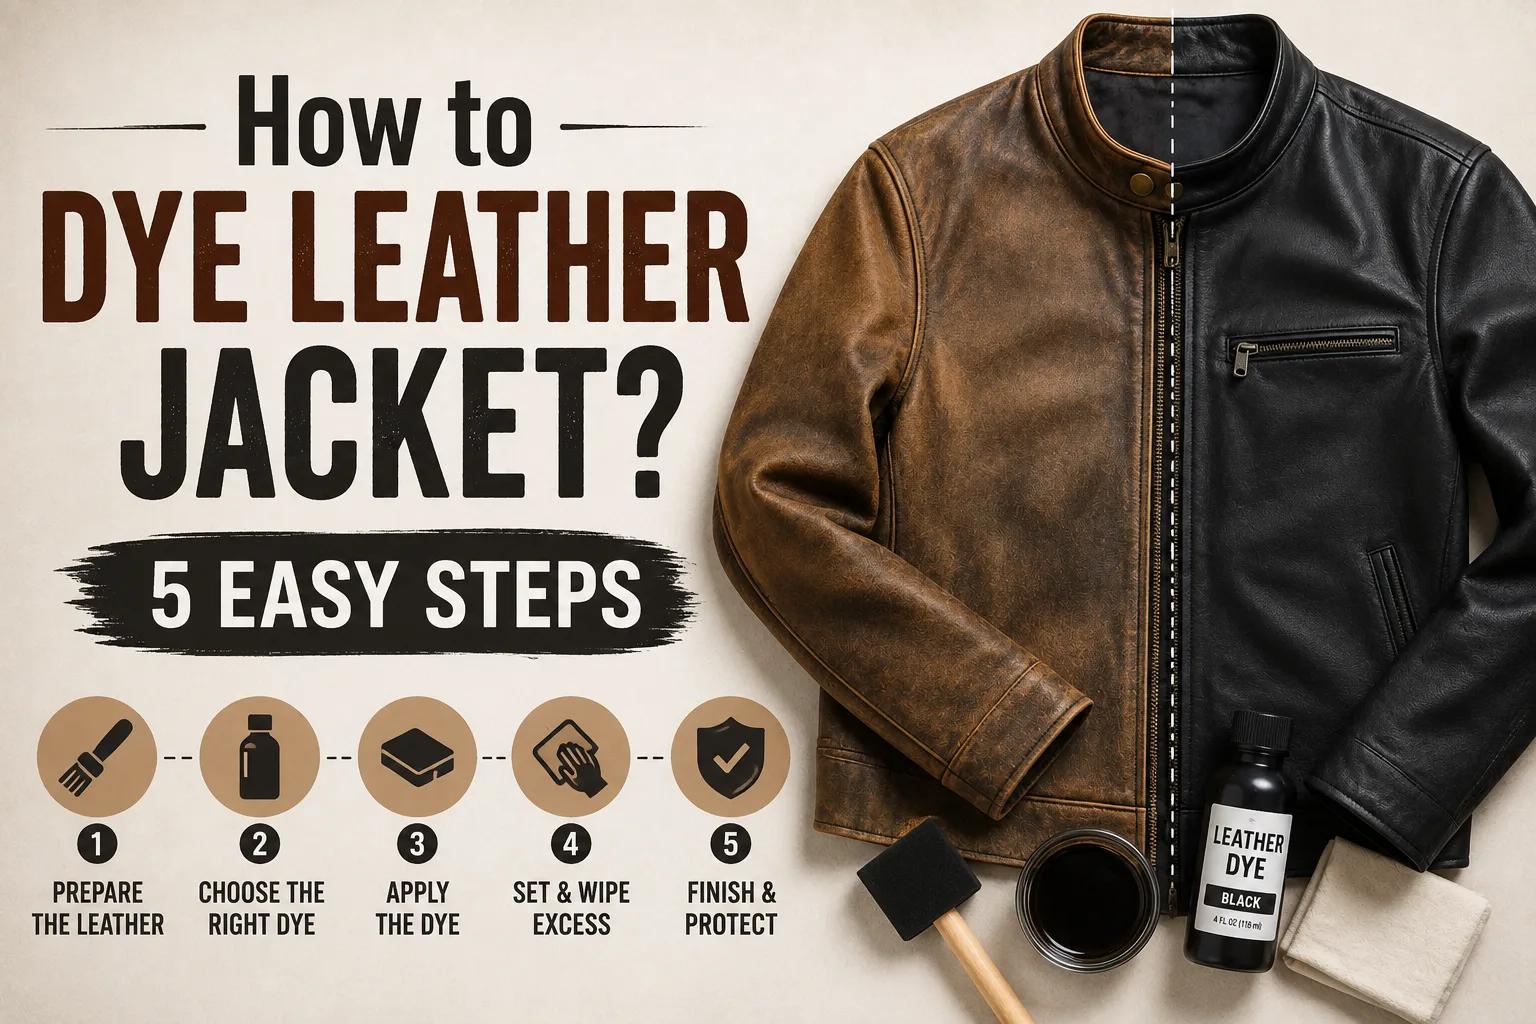
Dyeing leather is one of those projects that looks simple at first but requires a little more care and patience than you might expect. The good news is that leather can genuinely be recolored at home with the right supplies and technique. The bad news is that common problems blotchy patches, a plasticky-looking surface, or dye rubbing off on your clothes usually come from skipping or rushing one crucial stage: preparation.
This guide walks you through the leather-dyeing process from start to finish, covering everything from proper preparation and choosing the right dye to application and finishing. It also answers the most common questions people have about dyeing leather at home.
Can You Actually Dye Leather Jacket?
Yes, but with some real caveats. Full-grain and top-grain leather take dye well because their natural fiber structure is intact and absorbent. Vegetable-tanned leather is generally considered the easiest and most predictable to dye, since it’s typically undyed or lightly finished to begin with. Corrected-grain, heavily pigmented, or coated leather is much harder to dye evenly, because the factory finish sitting on top blocks the new color from penetrating, which is exactly why the preparation stage matters so much. Bonded leather and synthetic (faux/PU) leather generally don’t take dye at all in any reliable way, since there’s no real hide fiber underneath the surface layer to absorb it.
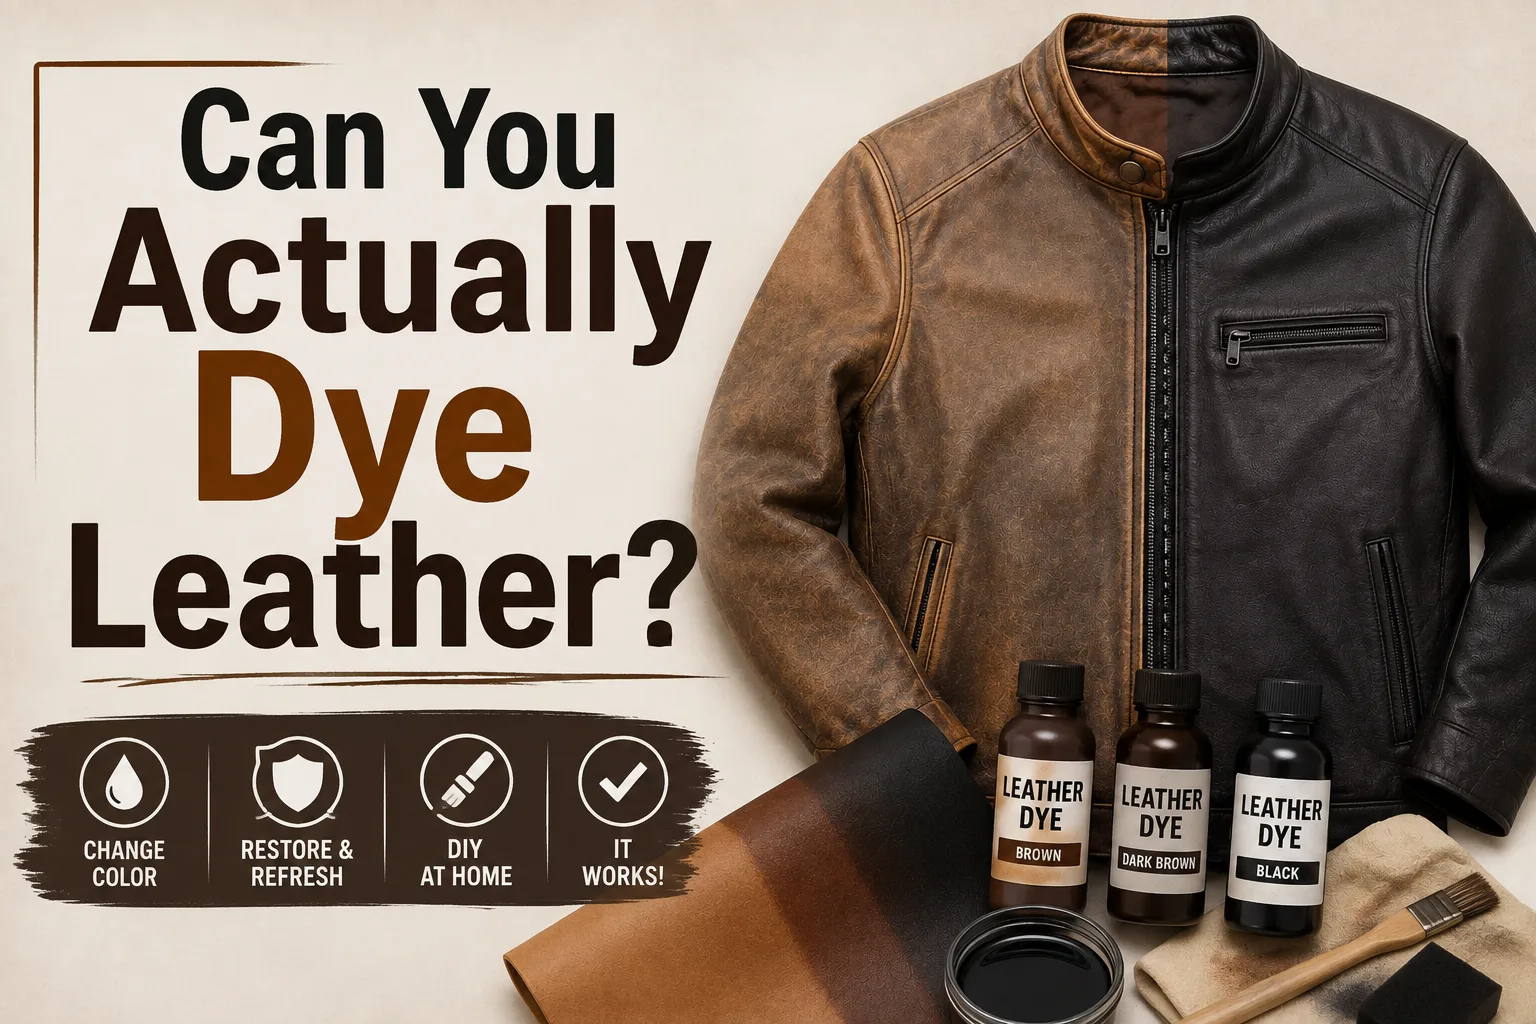
One more honest caveat worth setting expectations around: going darker is far more forgiving than going lighter. Dye adds color; it doesn’t remove it. Taking a black jacket to brown, or a bright color to a deep one, is realistic. Trying to lift a jacket to a noticeably lighter shade than its current color is a different, much harder job that usually isn’t achievable with dye alone.
What You’ll Need
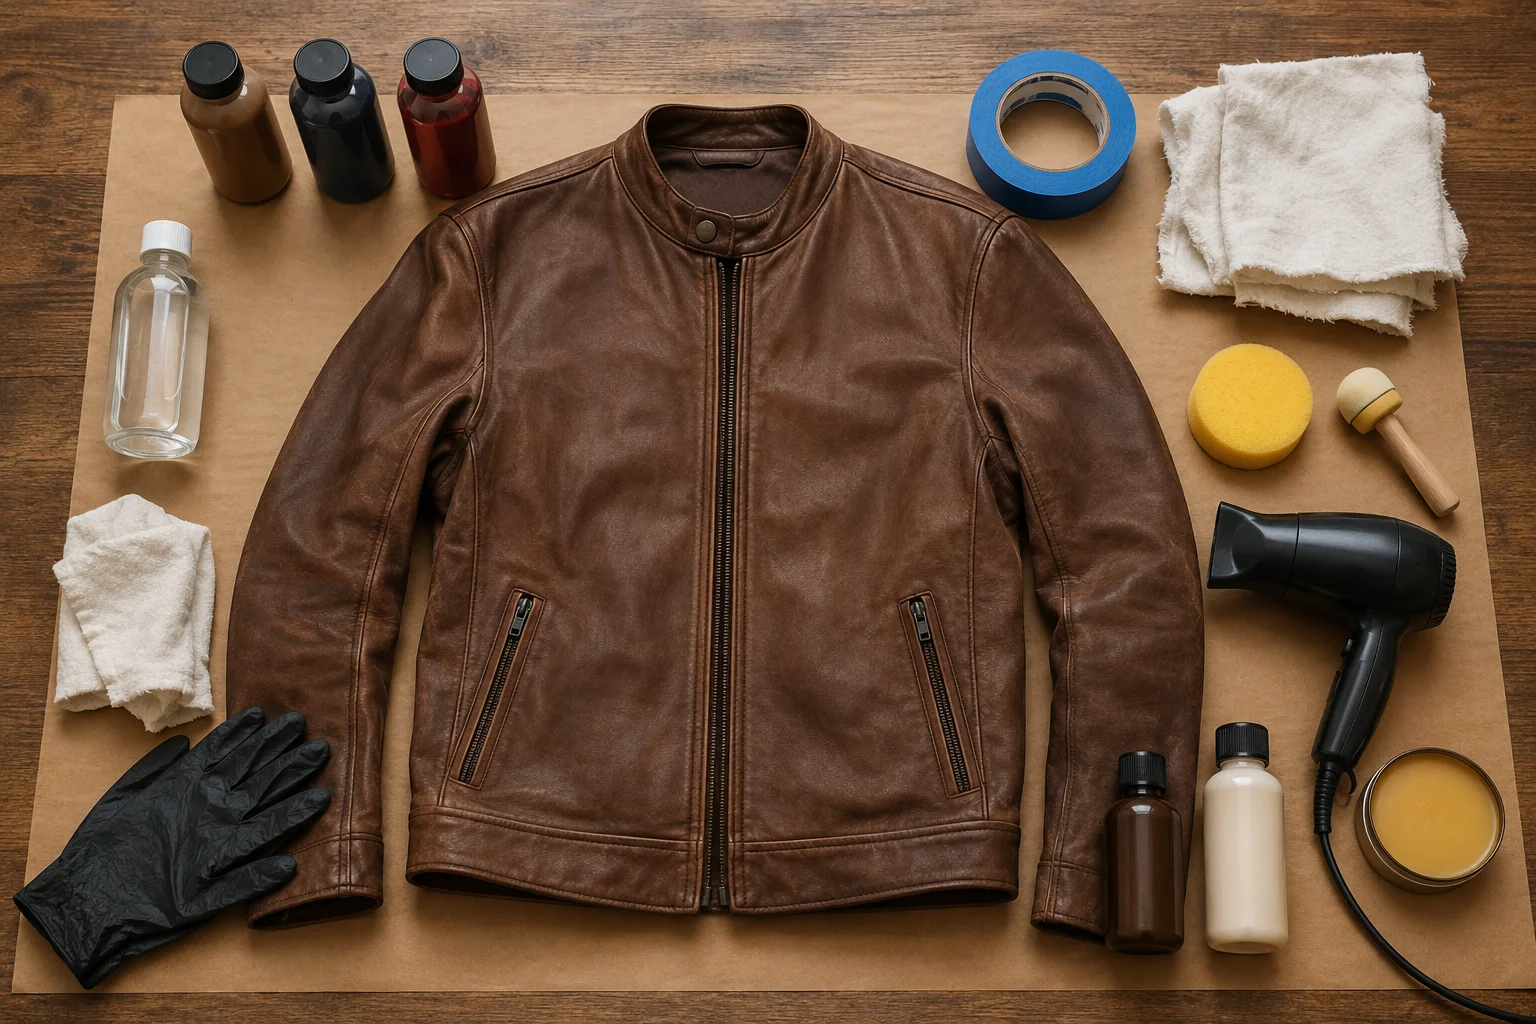
- Leather dye in your chosen color (alcohol-based, oil-based, or water-based)
- Isopropyl alcohol or a dedicated leather deglazer/prep solution
- Clean cotton rags or an old t-shirt, cut into pieces
- A sponge or wool dauber for applying dye
- Painter’s tape to mask off hardware, zippers, and trims
- Rubber gloves
- A hairdryer (optional, but genuinely useful for speeding up drying between coats)
- A leather conditioner and a finishing product to seal the color once you’re done
- A well-ventilated workspace and something to protect the surface you’re working on
Whatever you do, test everything, the alcohol prep, the dye, the color, on a hidden section first: an inside hem, an underarm panel, or a spare scrap if you have one. Leather varies enough between pieces, and even across a single jacket, that a test patch is the only reliable way to know how it will actually behave before you commit to the whole thing.
Step 1: Prepare the Leather Jacket
This is the stage that determines whether everything after it goes smoothly, and it’s the one stage nobody should rush. The goal is to strip away the factory finish and any surface oils, waxes, or old dye sitting on top of the leather, so the fresh dye can actually soak into the fibers instead of sitting unevenly on the surface.
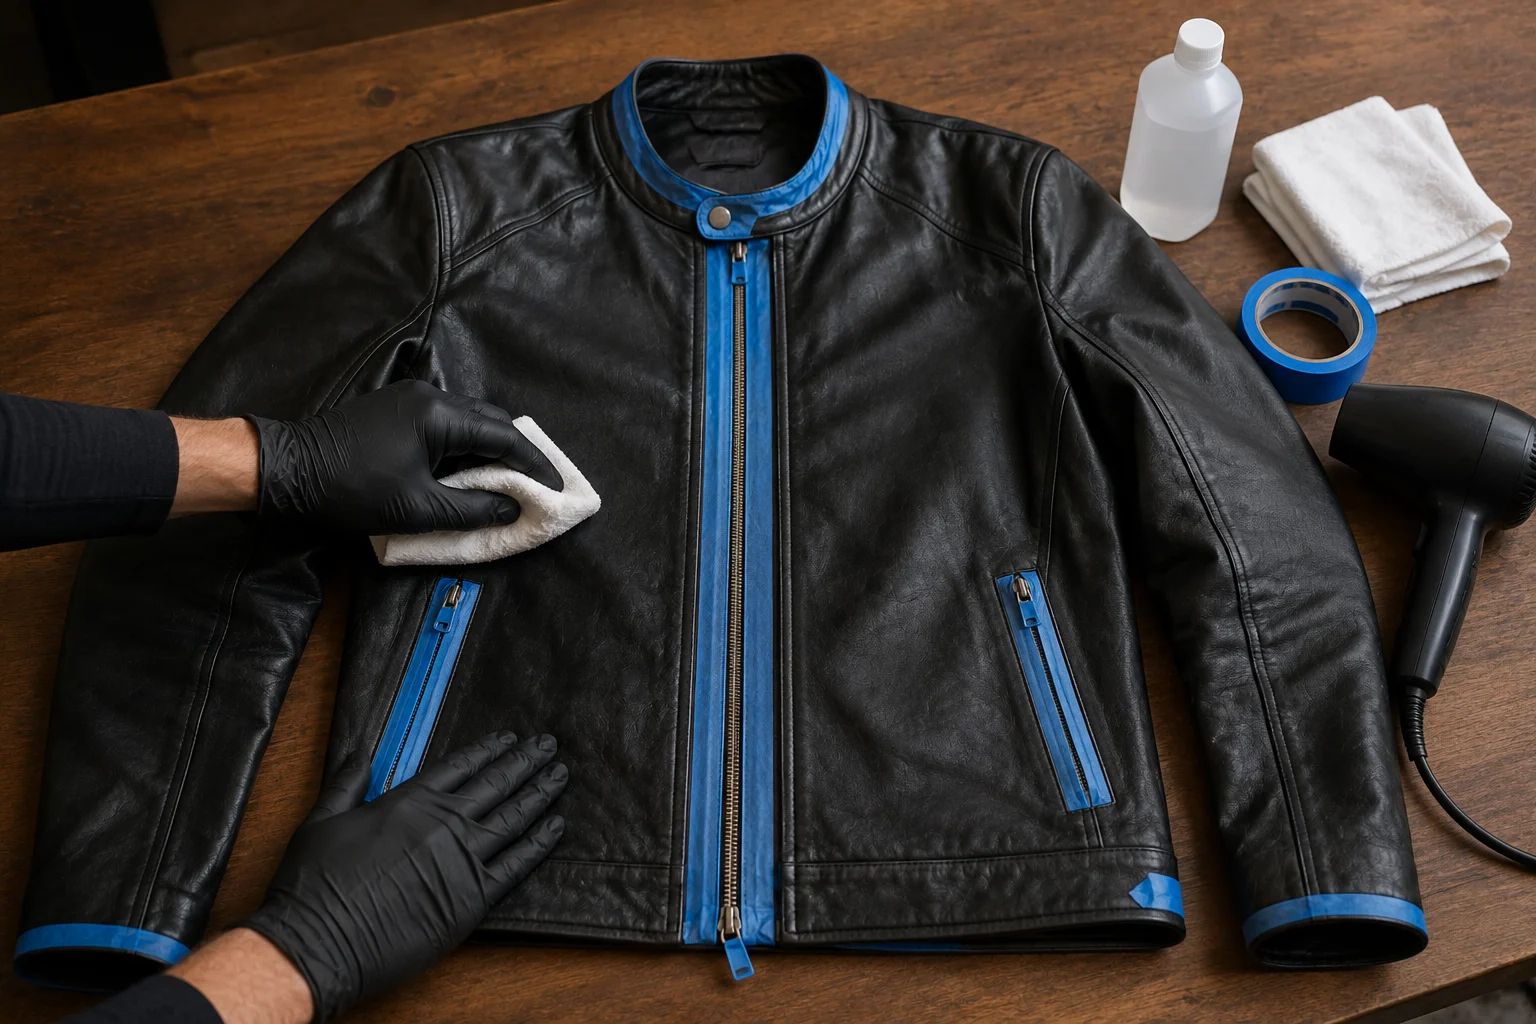
Working in sections, dampen a clean rag with isopropyl alcohol and rub the leather firmly but not aggressively, wiping until you see color and finish transferring onto the rag. On lighter, thinner leathers this can happen fairly quickly; on stiffer, heavily finished leather it takes longer and more pressure. Keep the rag topped up with alcohol as you go, and use a hairdryer on a low or medium setting periodically to dry the surface so you can actually see your progress, since wet leather makes it hard to judge how much finish you’ve removed. Work panel by panel rather than trying to do the whole jacket in one continuous pass; it’s much easier to keep the result even, and much easier to catch yourself before over-thinning one specific spot, especially on soft, thin leathers that can genuinely tear if you overwork them.
Before you start applying alcohol, tape off any hardware, zippers, snaps, or trim you don’t want stripped or dyed. It’s a small step that saves a lot of cleanup later.
If you’re working with a finished (already dyed and sealed) leather item rather than raw or vegetable-tanned leather, this prep stage is non-negotiable. Skipping it is the single most common reason home dye jobs turn out patchy.
Step 2: Choose and Prepare Your Dye
Leather dyes generally fall into three categories, and the differences matter more than people expect:
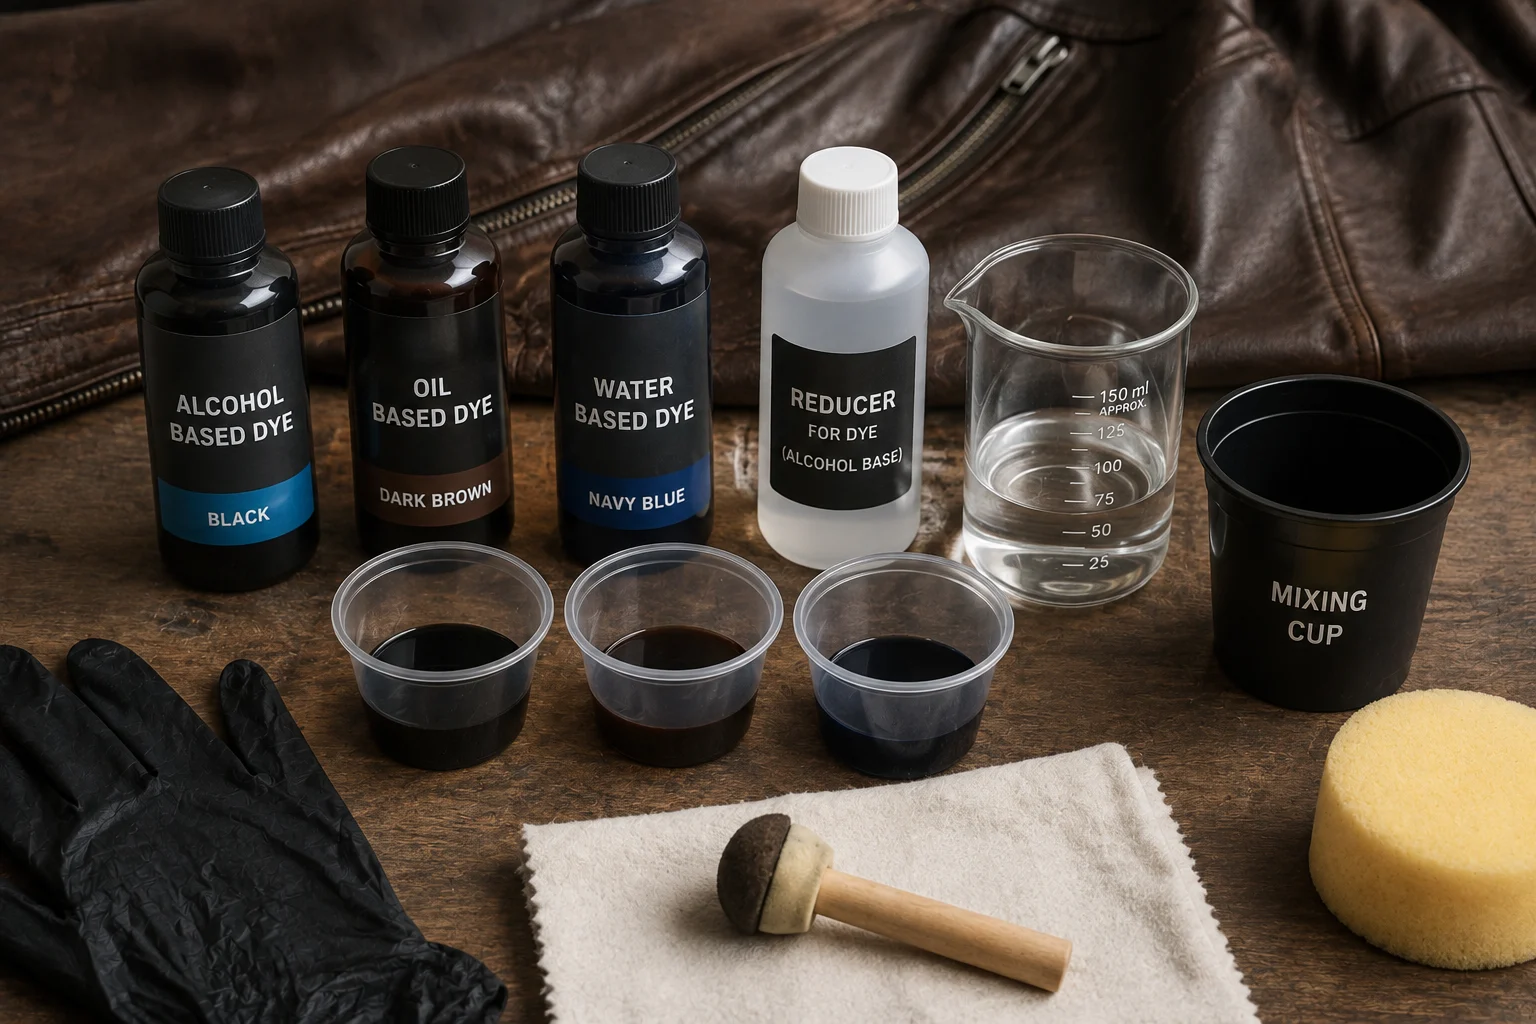
- Alcohol-based dyes penetrate quickly and deeply, dry fast, and tend to hold color well over time, which is why they’re a common choice among experienced leatherworkers. They can be less forgiving to apply evenly and have a stronger odor, so ventilation matters.
- Oil-based dyes use an oil carrier rather than a purely alcohol one, which generally gives smoother, more even coverage and helps the leather keep more of its natural feel, at the cost of a somewhat longer drying time than alcohol dyes.
- Water-based dyes are lower-odor, easier to clean up, and gentler on the leather’s suppleness, but they don’t penetrate quite as deeply as alcohol-based dyes and can be more prone to rubbing or bleeding if they aren’t properly sealed afterward.
Full-strength dye straight out of the bottle is usually more than you need for a first coat, and it removes your ability to build color gradually and fix uneven patches along the way. Diluting the dye, with water, alcohol, or a dedicated reducer depending on the dye’s base, gives you room to apply several thin, controlled layers instead of one heavy, hard-to-correct one.
Step 3: Apply the First Coat
Using a sponge, wool dauber, or clean cloth, apply the dye in smooth, consistent motions, working in one direction across each panel. Circular motions work well for even coverage; some people prefer light, even strokes in a single direction for the base coat. Whichever method you use, keep it consistent across the whole piece so you don’t end up with visible texture differences between sections.
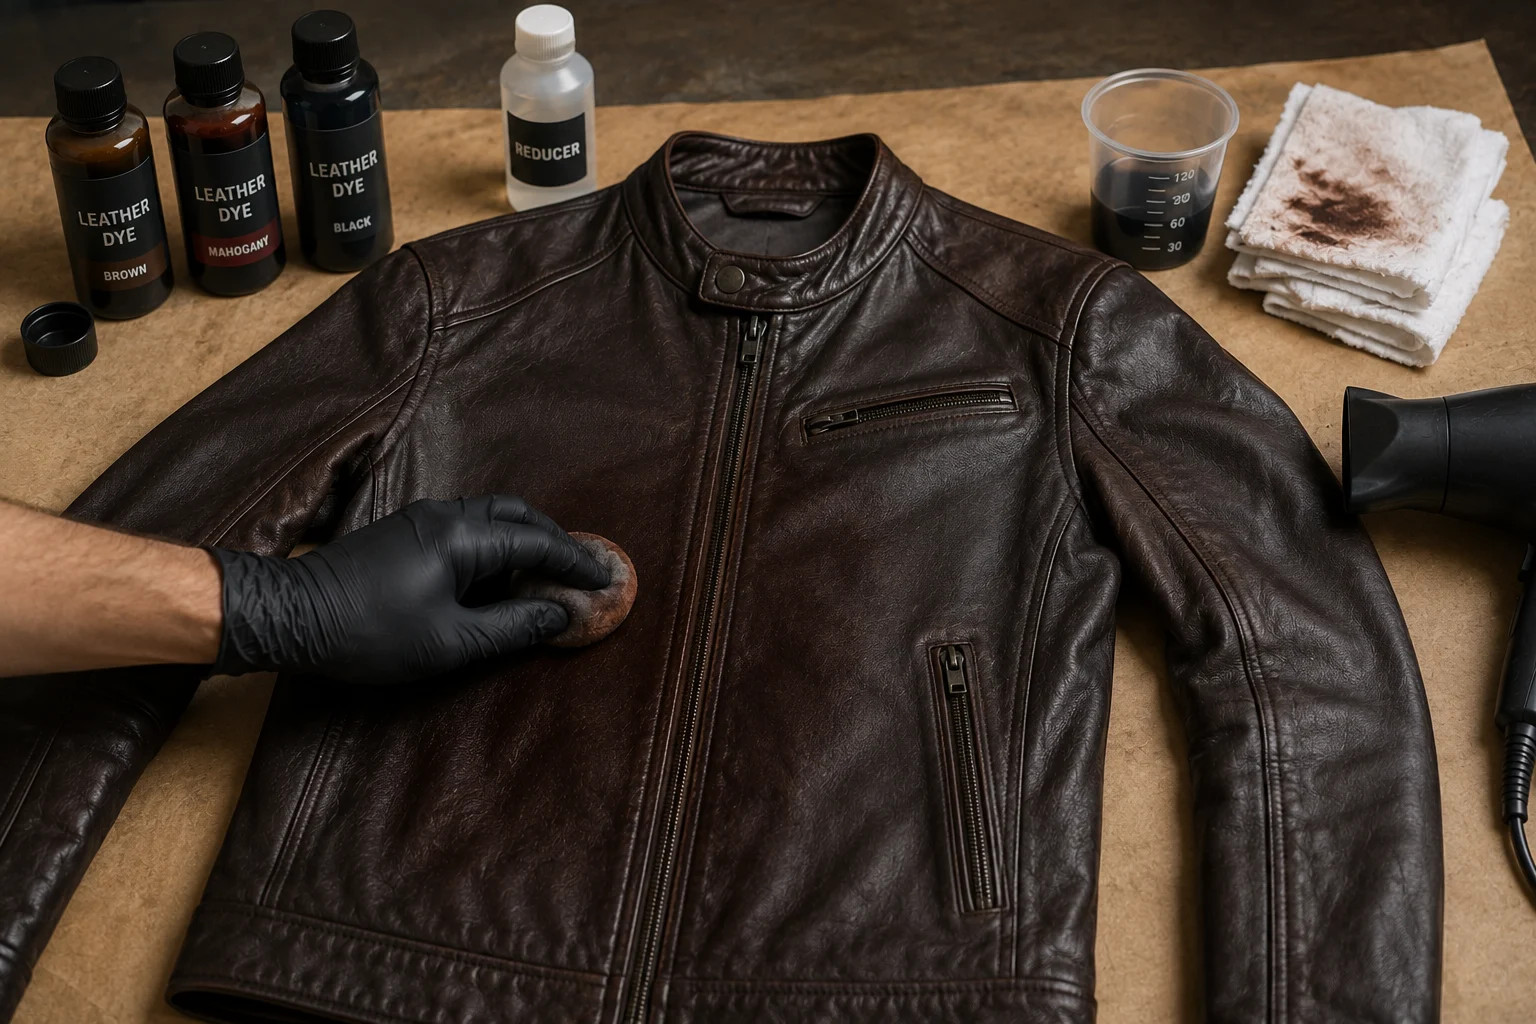
Apply thin rather than thick. A thin first coat that looks slightly uneven is normal and expected, it’s not meant to be your final color yet. Let it dry fully before judging it or moving to a second coat; a hairdryer on low-to-medium heat speeds this along considerably compared to air drying alone, especially indoors.
Step 4: Build Up Additional Coats
This is where the color actually comes together. Apply a second coat, and a third if needed, using the same motion and technique as before, paying particular attention to edges, seams, and any spots that looked lighter after the first coat. Some people find it helpful to vary the direction slightly between coats, one pass in one diagonal, the next in the opposite diagonal, to make sure the dye reaches the leather from multiple angles and avoids streaking.
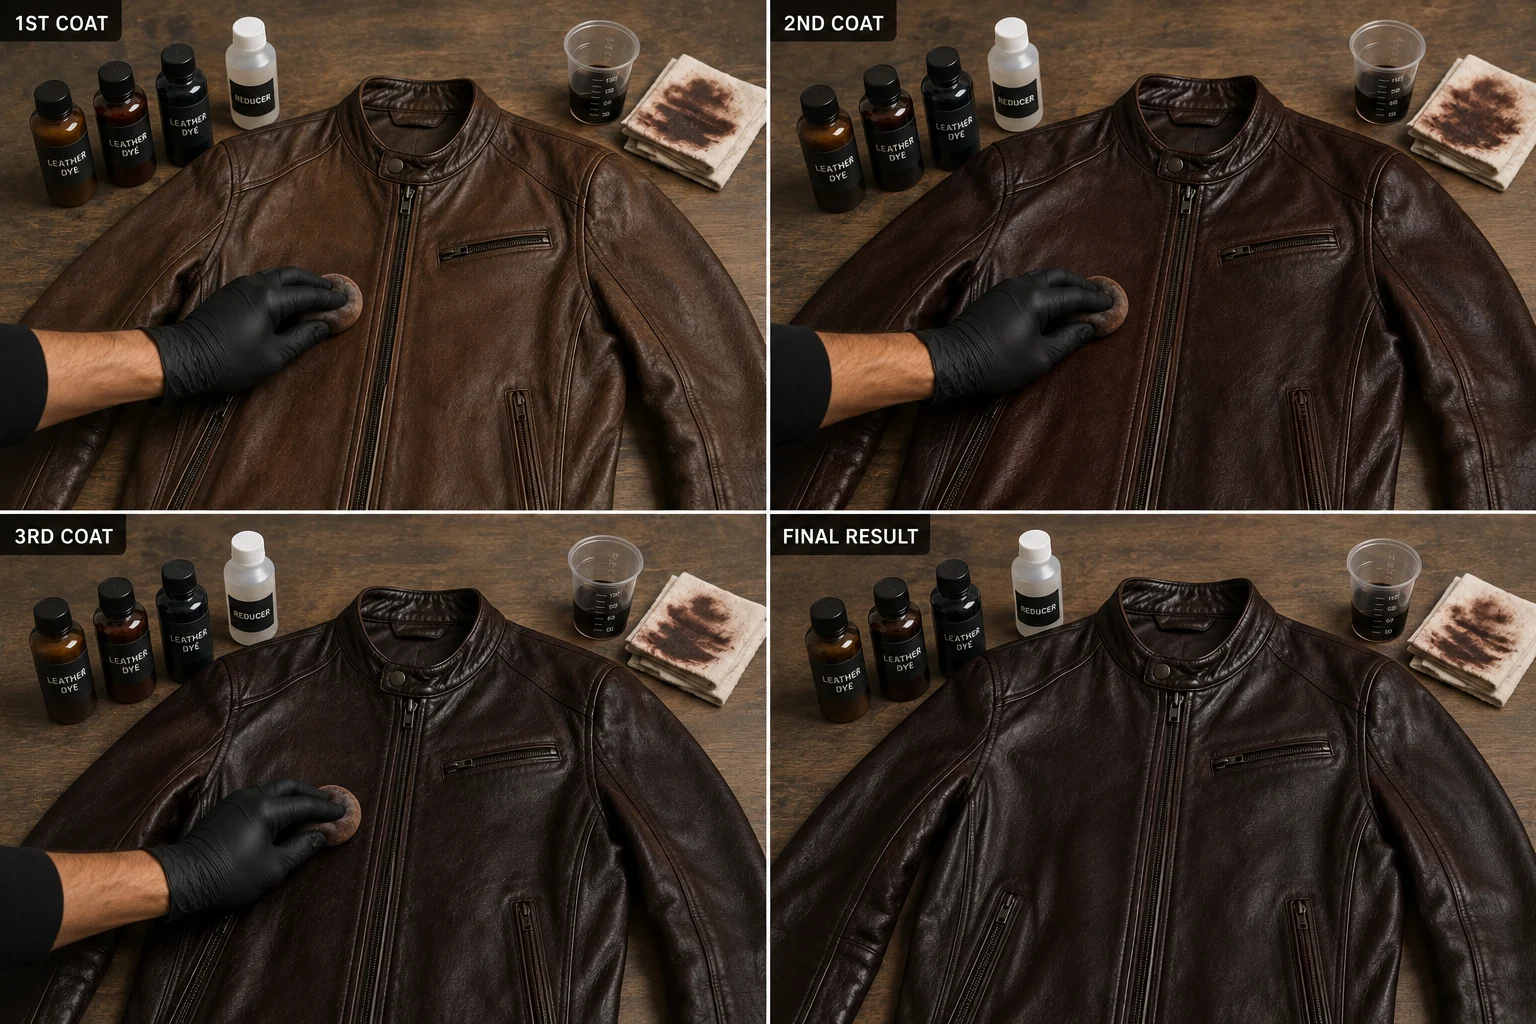
Dry each coat before adding the next. Check your progress in good, even lighting rather than the light where you’re working, since dye color can look different once fully dry than it does wet. Stop once you’ve reached full, even coverage — more coats than necessary just adds unnecessary stiffness and buildup, and can start looking artificial or plasticky rather than like natural leather grain.
Step 5: Condition, Seal, and Finish
Once the dye has fully dried, typically 24 hours for a genuinely complete cure, apply a leather conditioner to rehydrate the fibers, since both the stripping and dyeing stages pull natural oils out of the leather. Work it in with a clean cloth in circular motions and let it absorb.
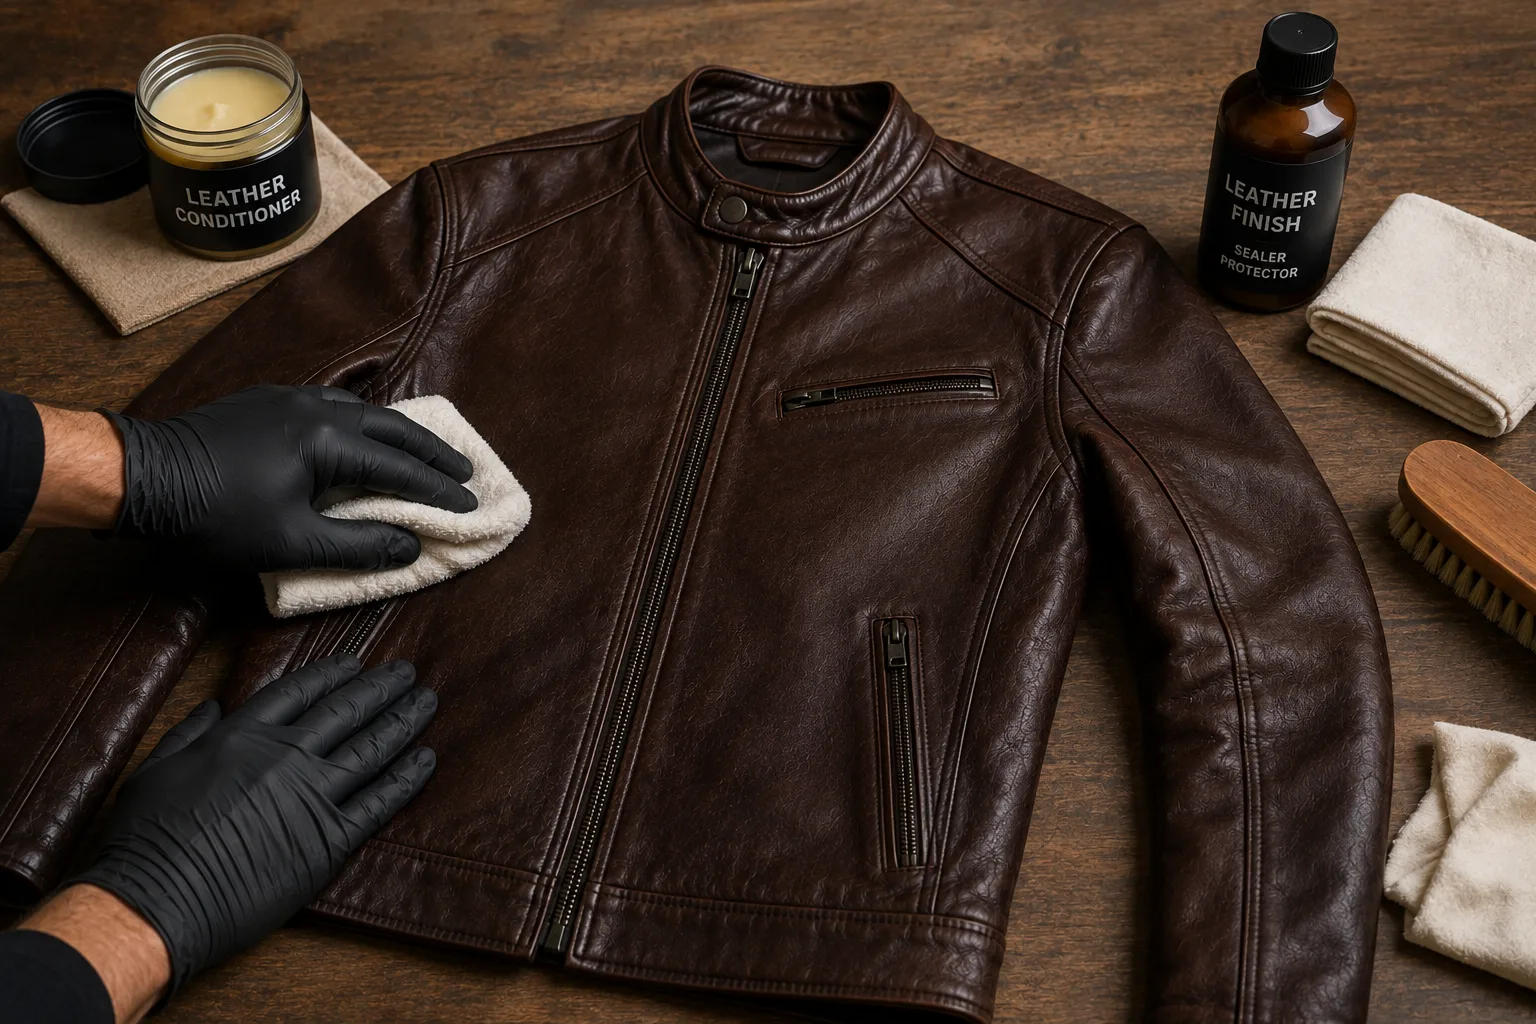
Depending on the dye you used, you may also want a dedicated finishing or sealing product to lock the color in and add water resistance, particularly for water-based dyes, which tend to need this step more than alcohol- or oil-based dyes to resist rubbing off. Buff gently with a clean, dry cloth once everything has set, both to bring out a bit of natural sheen and to confirm the color isn’t transferring onto the cloth anymore. If it still is, give it more time before wearing or using the piece.
Common Mistakes That Ruin a Dye Job
- Skipping the prep stage or rushing it. Uneven stripping leads directly to uneven dyeing, no matter how carefully the dye itself is applied afterward.
- Applying dye too thick, too fast. Heavy, single-pass application is the most common cause of blotching and an artificial, plasticky look.
- Not testing on a hidden area first. Leather can react differently than expected, especially older, vintage, or unknown-origin pieces.
- Skipping conditioner afterward. Both alcohol prep and the dyeing process dry the leather out; skipping conditioning leaves it stiff and more prone to cracking over time.
- Trying to go lighter instead of darker. Dye adds pigment; it doesn’t strip it. Lightening leather significantly requires different techniques entirely, and isn’t something a standard dye job accomplishes.
-

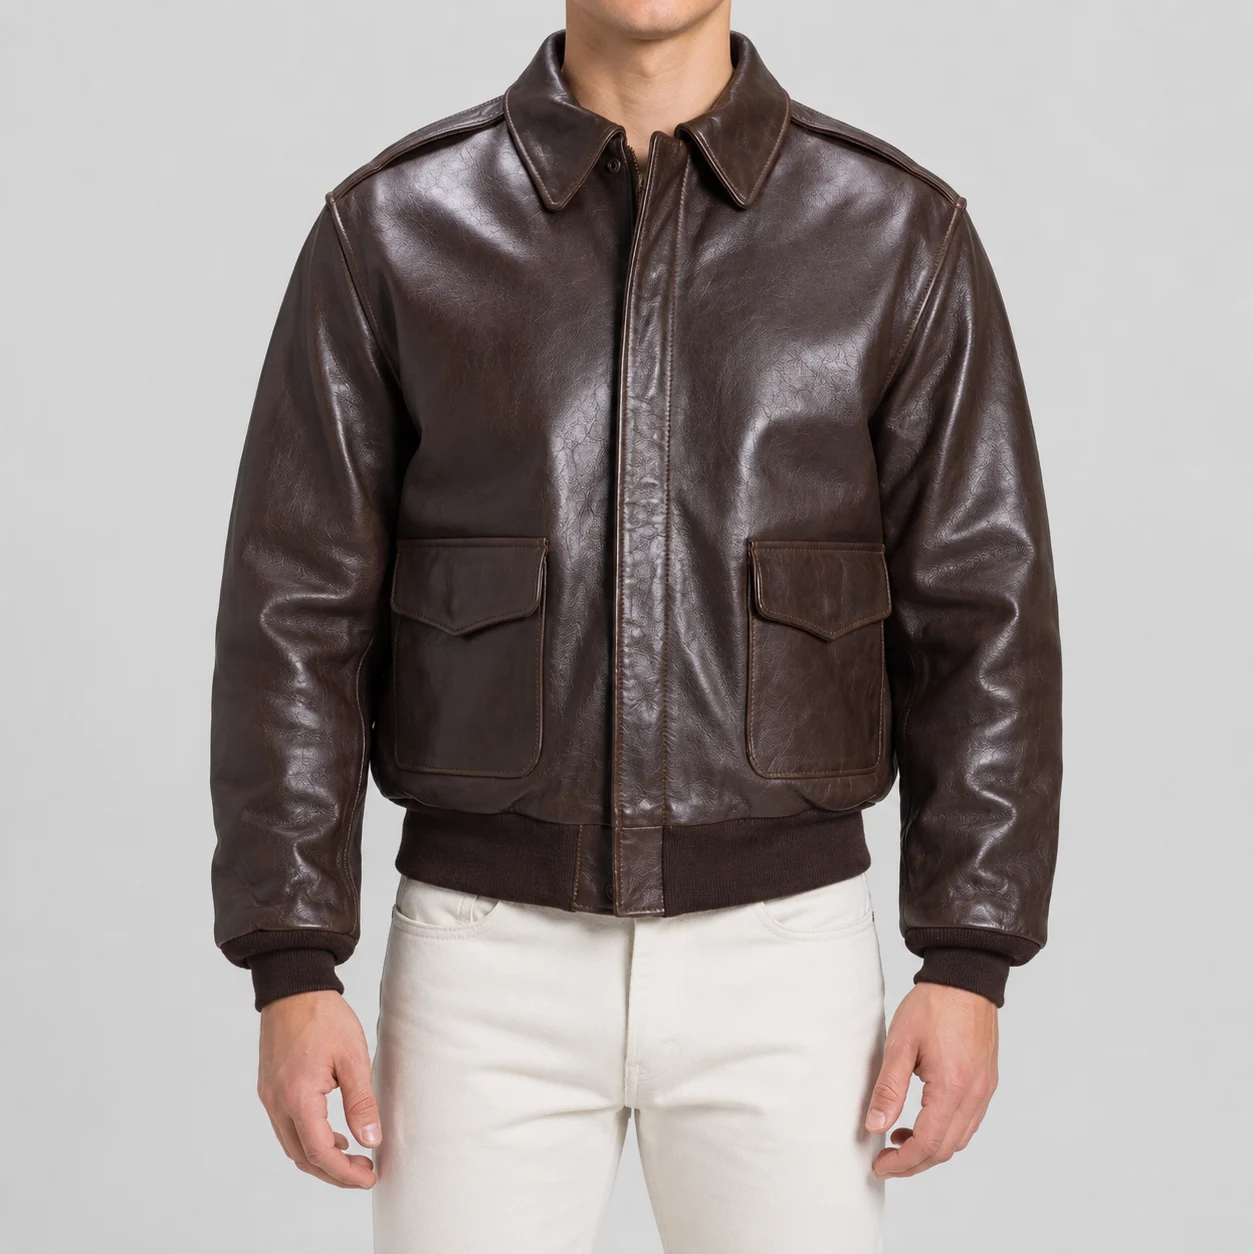
A-2 Antique WWII Leather Flight Jacket For Men
Price range: $299.00 through $329.00 -

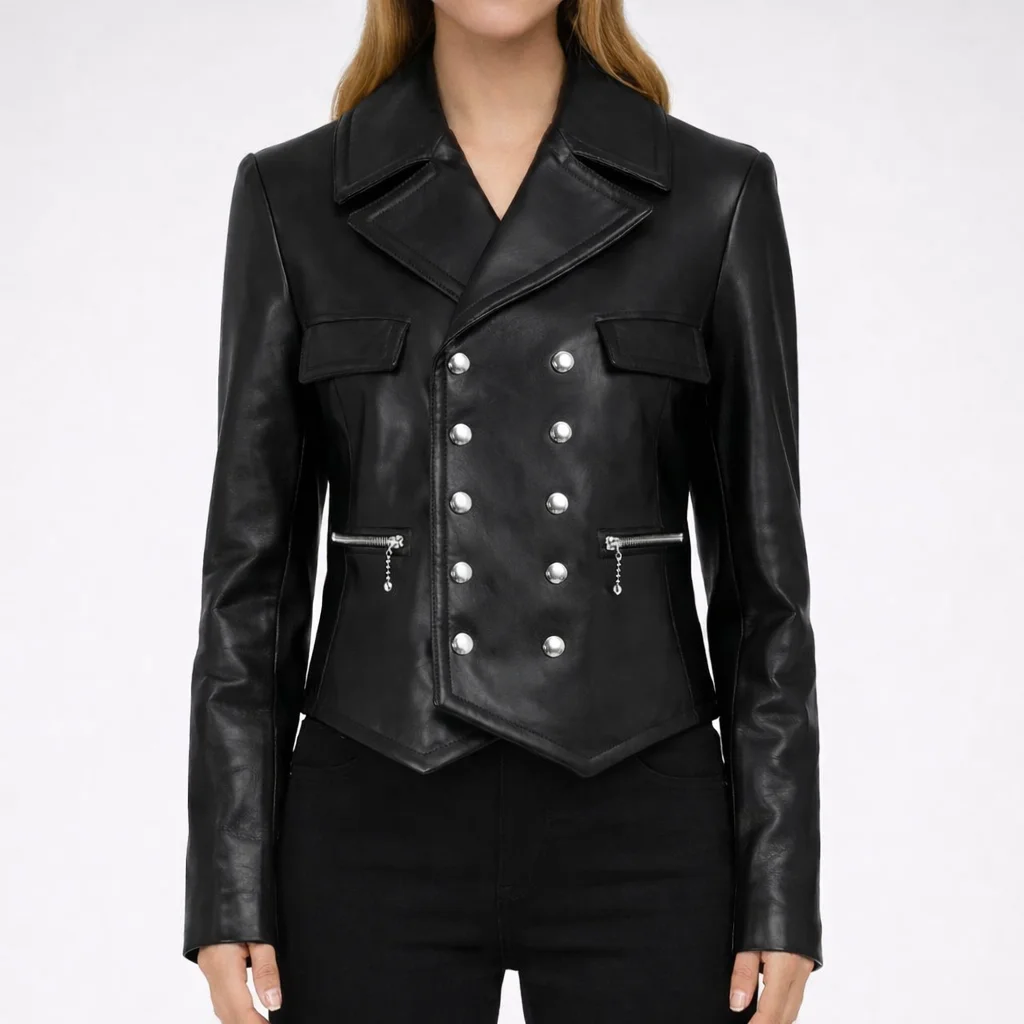
ALICE Black Leather Jacket For Women
Price range: $299.00 through $329.00 -
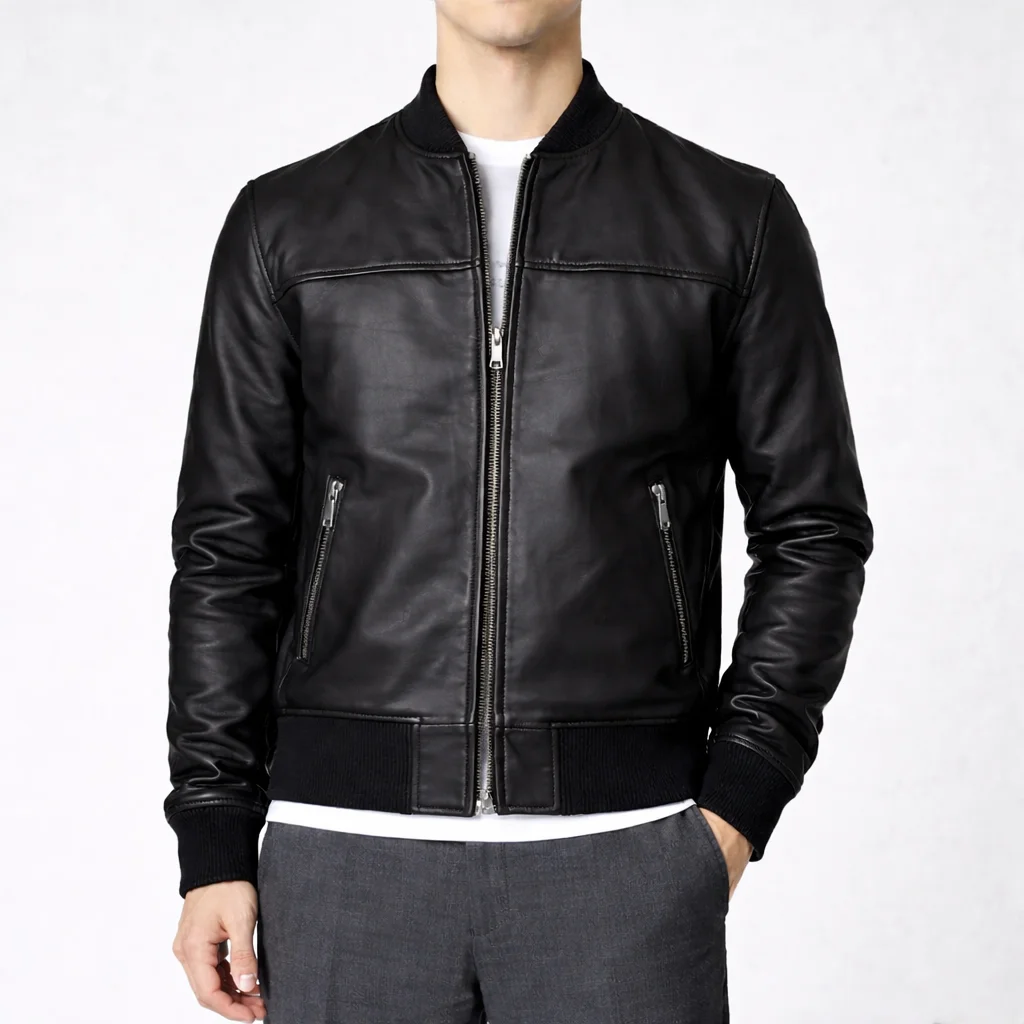
ALVIN Black Leather Bomber Jacket For Men
Price range: $299.00 through $329.00 -
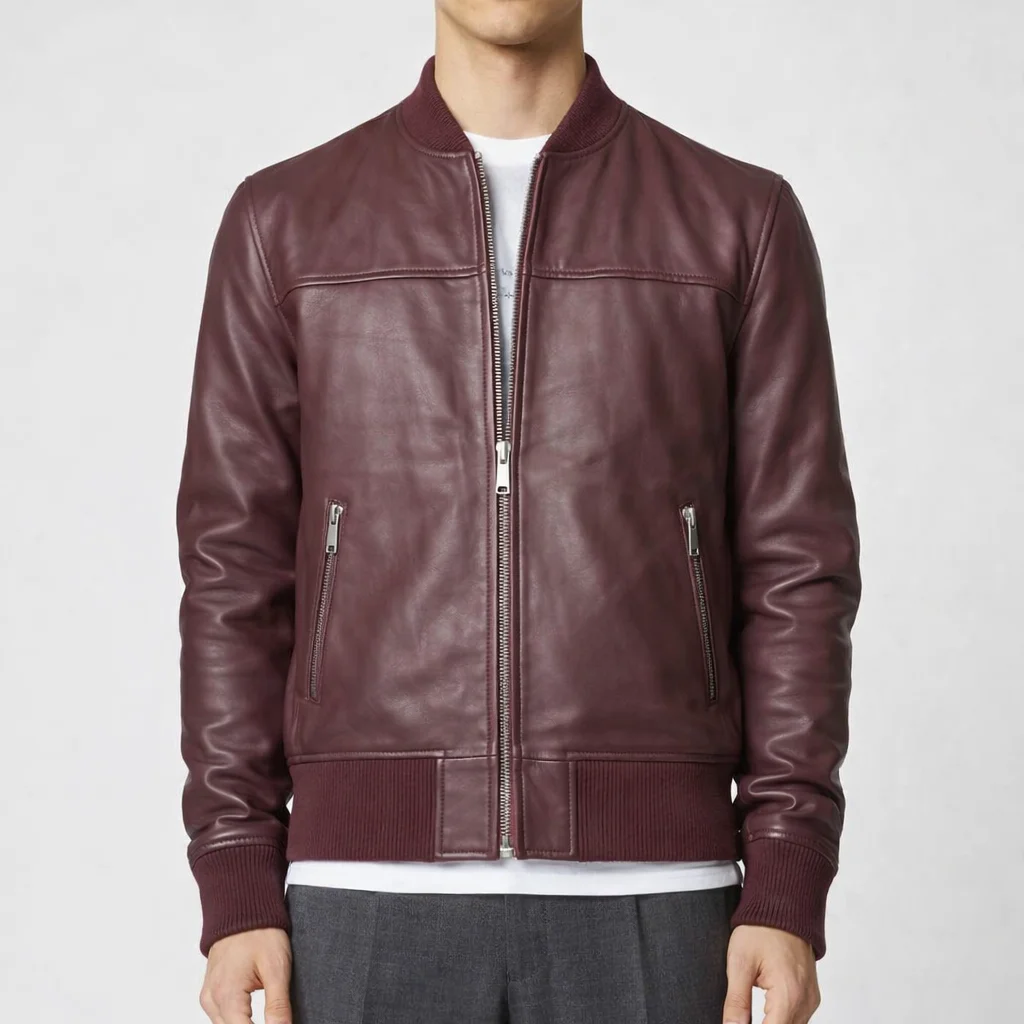
ALVIN Burgundy Leather Jacket For Men
Price range: $299.00 through $329.00
Frequently Asked Questions About Dyeing Leather
Can you dye a black leather jacket brown?
Not reliably to a lighter, warmer brown, since you’d be trying to lighten the leather rather than darken it. Dyeing black to a darker or more muted brown tone is more realistic, and even then, some undertone of the original black can show through depending on how the leather absorbs the new color, so this is a project worth testing carefully and setting modest expectations for.
Does leather dye bleed through to the lining or onto clothing?
It can, particularly with water-based dyes that haven’t been properly sealed, or if too much dye was applied without giving it time to fully cure. A proper finishing/sealing step after dyeing significantly reduces this risk. If a jacket is lined, protecting or taping off the lining seam during application is worth doing regardless of dye type.
Does rubbing alcohol damage leather?
Used correctly, as a prep step to strip finish rather than a soak, alcohol cleanup is a standard, widely used technique in the leather trade and doesn’t inherently damage leather. The real risk isn’t the alcohol itself but overdoing it: prolonged soaking, excessive rubbing on thin or soft leather, or skipping conditioner afterward can leave leather dried out or, on delicate hides, torn. Used with a light hand and finished with proper conditioning, it’s a routine part of professional leather refinishing.
Do you need a topcoat or sealer after dyeing?
It depends on the dye type and how the piece will be used. Alcohol- and oil-based dyes penetrate deeper and generally hold up reasonably well without a heavy topcoat, though a conditioner is still recommended. Water-based dyes benefit more from a proper sealing product, since they sit slightly more on the surface and are more prone to rub-off without one, especially on an item like a jacket that sees regular friction from wear.
Can you dye vegetable-tanned leather?
Yes, and it’s generally considered the easiest and most predictable leather to dye, since it’s usually untreated or only lightly finished to start, which lets dye penetrate cleanly without needing heavy stripping first.
Can you dye suede or nubuck the same way?
Not with the same products or process. Suede and nubuck have a napped, brushed surface rather than a smooth grain, and they require dyes and techniques formulated specifically for napped leather. Using a standard leather dye or the alcohol-prep method meant for smooth, finished leather on suede or nubuck generally gives poor, uneven results and can flatten or damage the nap.
Can you darken a lambskin or sheepskin jacket?
Yes, this is achievable, but lambskin and sheepskin are notably thin and soft compared to cowhide, which makes them easier to over-saturate or damage during prep. Extra caution, thinner coats, and more frequent drying checks between passes matter even more on these leathers than on sturdier cowhide.
What temperature should the hairdryer be set to?
Low to medium heat is generally the safer range. High heat speeds drying but raises the risk of the leather drying out too fast, stiffening, or in worst cases scorching or warping thin leather, so it’s worth prioritizing control over speed, especially on delicate pieces.
Is it better to dye leather or use shoe polish for a quick color change?
Shoe polish can shift the tone slightly and is a low-commitment option for occasional-use pieces, but it sits on the surface, isn’t permanent, rubs off onto clothing more easily, and won’t hold up the way an actual dye job soaked into the leather fibers will. It’s a reasonable short-term fix, not a substitute for proper dyeing if you want a lasting color change.
When Dyeing Isn’t the Answer
Dyeing works best on a jacket that’s fundamentally sound, just faded, scratched, or ready for a new look, and it works far better on full-grain and top-grain leather than on lower grades. If a jacket’s leather is cracking, delaminating, or was never great to begin with, no amount of careful dye work will fix the underlying material. What Makes a Good Leather Jacket guide, for readers deciding whether a piece is worth restoring versus replacing
If you’re at the point of considering a full recolor because a jacket has genuinely reached the end of its life, it might also be worth looking at what a properly made replacement actually costs versus a professional dye job, especially since full-grain leather, cared for from the start, is exactly what avoids needing this kind of rescue project years down the line. Lammberg made-to-measure leather jacket collection
Related Articles
- Vintage Brown Leather Jackets Are Trending in 2026
- What Makes a Good Leather Jacket? 10 Things to Check
- The Leather Jacket Styles Actually Worth Wearing in 2026
- Where Does Leather Come From? A Complete Guide to Leather Origins, Animals, Production & Grades
- Leather Jacket Too Tight? Here’s Exactly What to Do (2026 Complete Guide)
- How to Wash a Suede Jacket Without Damaging It: Expert Cleaning Guide
- Best Leather Jackets Under $300 in 2026: 8 Genuine Picks That Don’t Feel Like a Compromise
- The Professional’s Guide to Styling Leather Jackets 2026: Timeless Outfit Ideas
- Full Grain vs Genuine Leather: The Shocking Truth Most Jacket Buyers Don’t Know
- PU Leather vs Genuine Leather – The Truth Most Sellers Won’t Tell You
- The Incredible Story of Leather: 7,000 Years of History That Changed Fashion Forever
- Don’t Buy a Leather Jacket Until You Read These 7 Expert Tips
- 15 Leather Jacket Myths That Are Costing You Money (Fact #7 Surprises Everyone)
- Real vs Fake Leather Jackets: 10 Easy Ways to Spot the Difference in Seconds
- What Makes a Premium Leather Jacket So Expensive? The Craftsmanship Explained
- Never Buy Bonded Leather Until You Read This Complete Guide
- Peacoat vs Trench Coat: Which One Makes You Look Better?
- 11 Men’s Leather Jacket Trends That Will Dominate Fashion in 2025
- How to Remove Bad Smells from a Leather Jacket (Without Damaging It)
- The Ultimate Leather Jacket Size Guide: Get the Perfect Fit Every Time
- How to Measure Yourself Correctly Before Buying a Leather Jacket Online
- Top Women’s Leather Coat Trends Everyone Will Be Wearing in 2026
- 10 Men’s Leather Coats That Make You Look Rich in 2026
- The Only Jacket Guide You’ll Ever Need for Every Season
- Top 10 Genuine Leather Jackets in the USA (Ranked by Experts)
- Best Lightweight Packable Puffer Jackets That Travelers Swear By
- How Fashion Experts Style Leather Jackets in 2026 (Copy These Looks)
- How to Wear a Men’s Leather Jacket Without Looking Outdated
- How to Remove Wrinkles from a Leather Jacket Without Ruining It
- 10 Leather Jacket Outfit Ideas That Make Every Woman Look Stylish Instantly
- How to Remove Mold from a Leather Jacket Before It Gets Worse
- The Hidden World of Leather Clusters: How the Global Leather Industry Really Works
- Can You Wash a Leather Jacket in a Washing Machine? The Answer May Surprise You
- 25 Best Leather Coats to Buy in 2026 (Expert Picks)
- The 25 Best Leather Jackets of 2026 You Won’t Regret Buying
- 5 Types of Leather Jackets Every Stylish Man & Woman Should Own
- The Untold History of Leather Jackets: From War Heroes to Hollywood Legends
- 10 Leather Blazer Office Outfits Every Working Woman Should Copy in 2026
- 10 Leather Blazer Office Looks That Instantly Upgrade Your Style
- How to Remove Cigarette Smell & Mildew from Leather Jackets Fast (Pro Methods)
- Do Police Officers Still Wear Leather Jackets? The Truth Will Surprise You







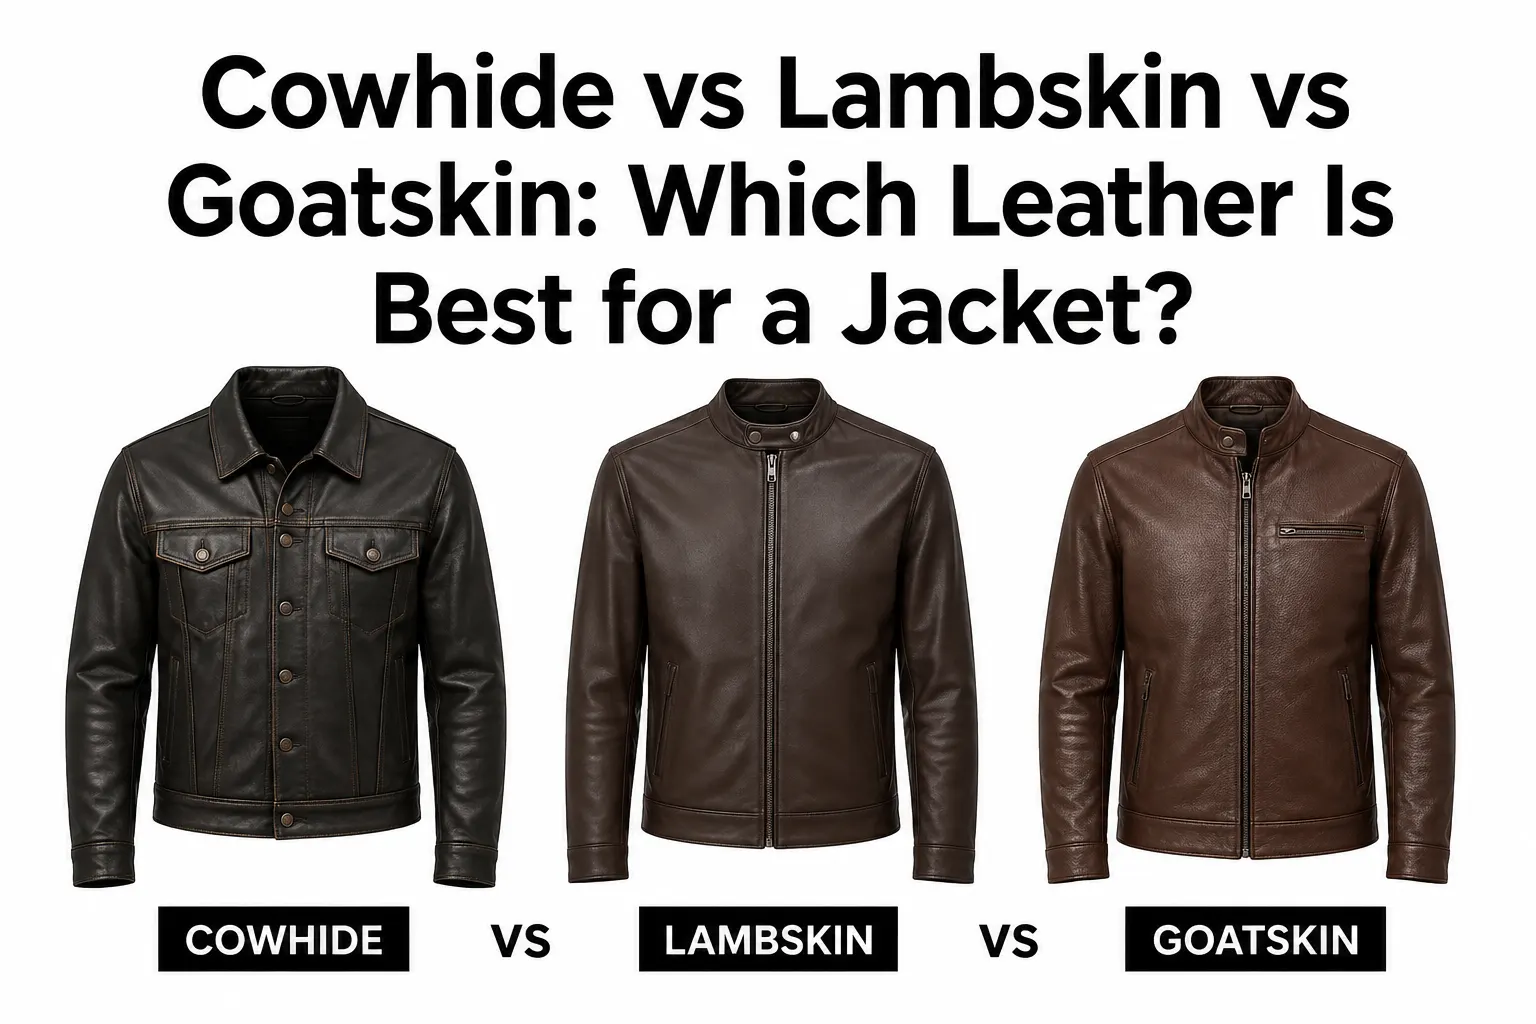
Cowhide vs Lambskin vs Goatskin: Which Leather Is Best for a Jacket?
What Makes a Good Leather Jacket? 10 Things to Check