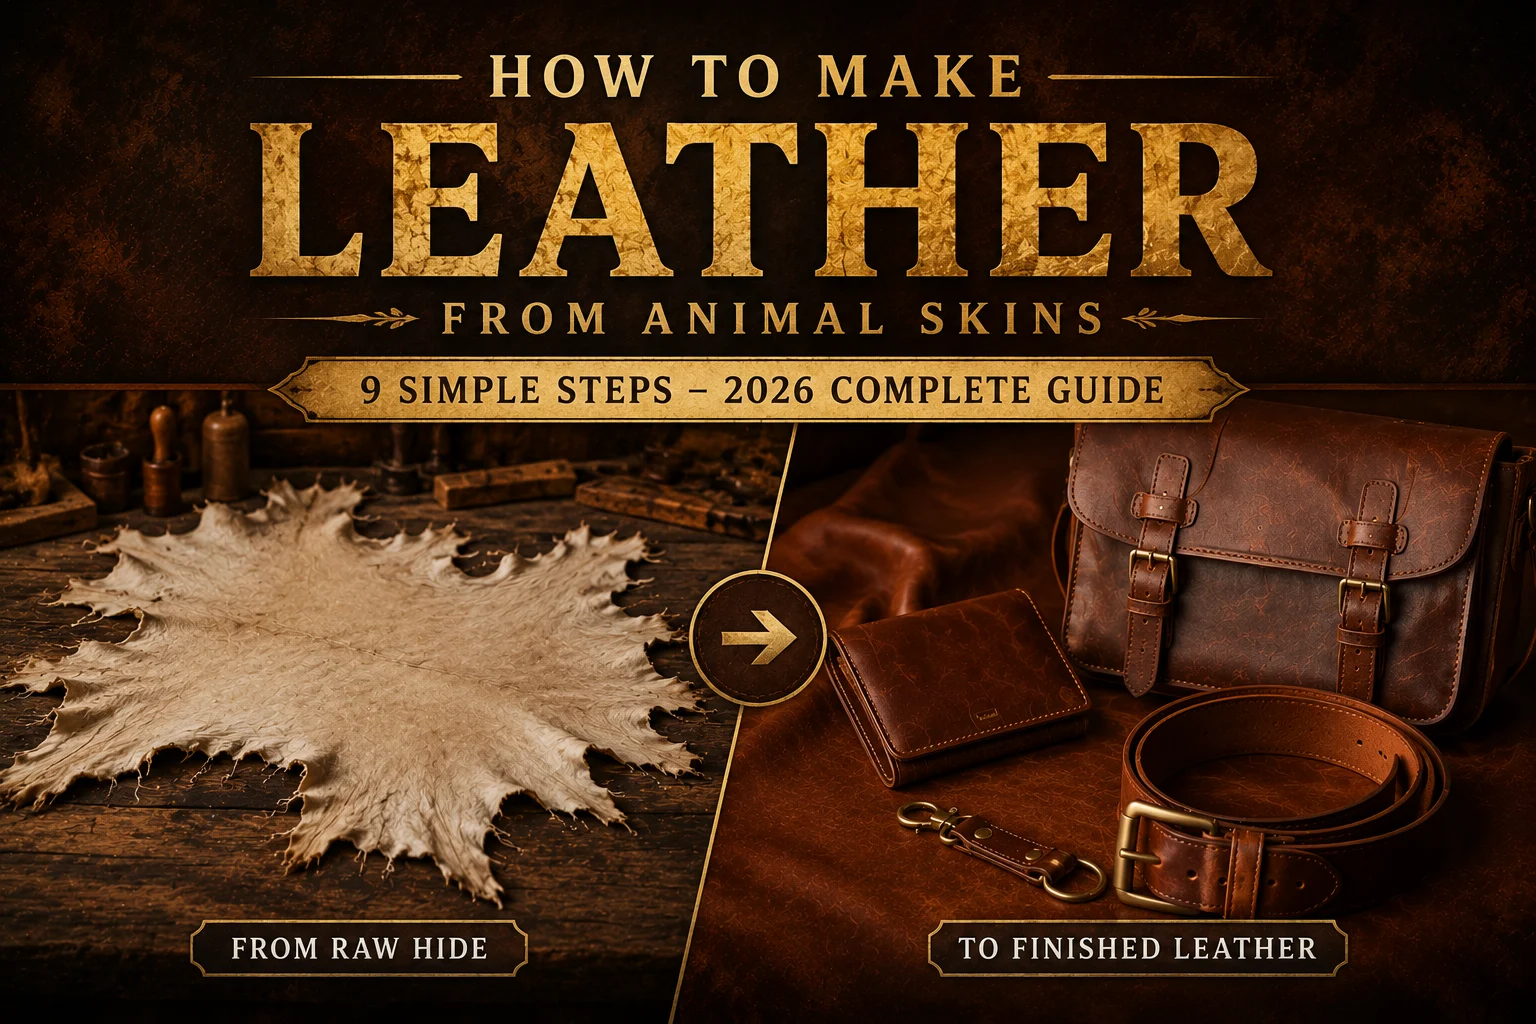
Hide tanning is one of the oldest professions on the planet. For thousands of years, animal skins have been transformed into durable, usable leather using nothing more than the natural tannins extracted from the bark and leaves of various plants. Long before modern chemical tanneries existed, our ancestors mastered the art of preserving animal hides through patience, skill, and an intimate understanding of the natural world.
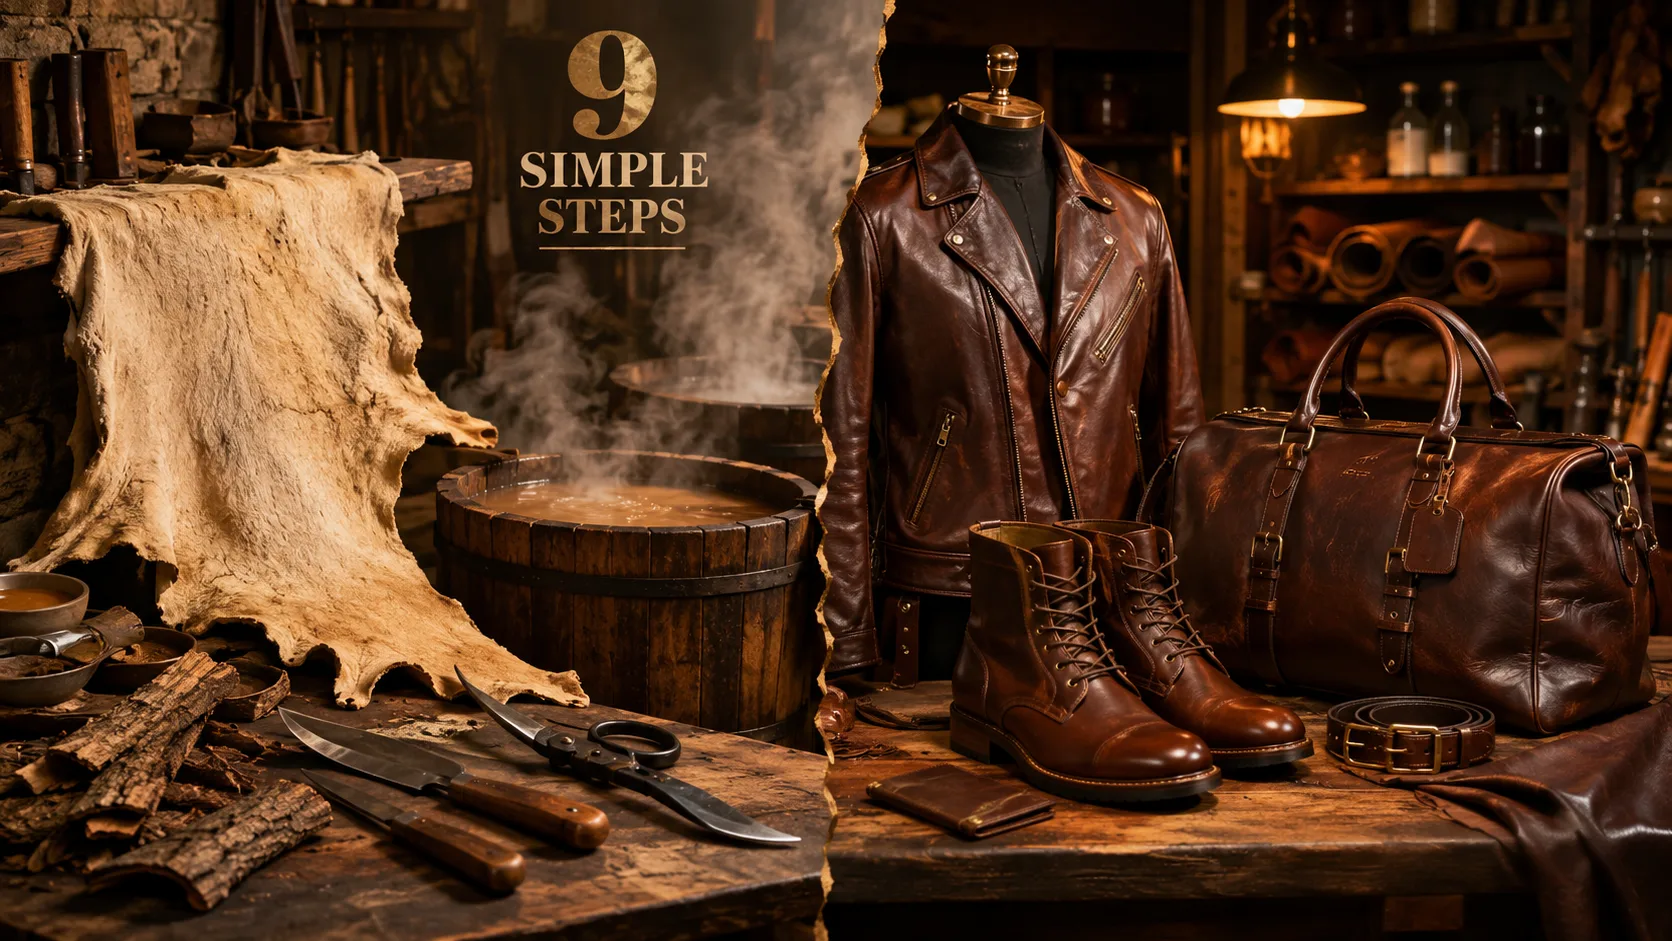
In this guide, we will walk through the complete process of making leather from animal skins using all-natural bark tanning methods. These are the same techniques that have been used for millennia methods that produce beautiful, durable leather without any synthetic chemicals. Whether you are a hunter looking to utilize a harvested hide, a bushcraft enthusiast wanting to learn primitive skills, or simply someone curious about how leather is really made, this guide will give you a thorough understanding of the ancient craft of bark tanning.
The beauty of natural tanning lies in its simplicity. With the right techniques and a lot of patience, you can turn a raw animal hide into supple, durable leather using ingredients found in nature. Let’s dive into the complete process.
Step 1 – Fleshing the Hide
The journey from raw hide to finished leather begins with fleshing. This is the process of removing all the meat, fat, and membranes from the flesh side of the hide. Fleshing is essential because any organic material left on the hide will eventually rot and ruin the leather. The goal is to get down to the clean, fibrous structure of the hide itself.
To flesh a hide, you will need to stretch it over a rounded wooden beam or fleshing beam. This curved surface gives you the leverage you need to scrape effectively. Using a fleshing knife a relatively dull draw knife or fleshing knife works well for this task because it pushes rather than cuts push firmly across the surface, pushing the flesh, fat, and membranes off rather than cutting them.
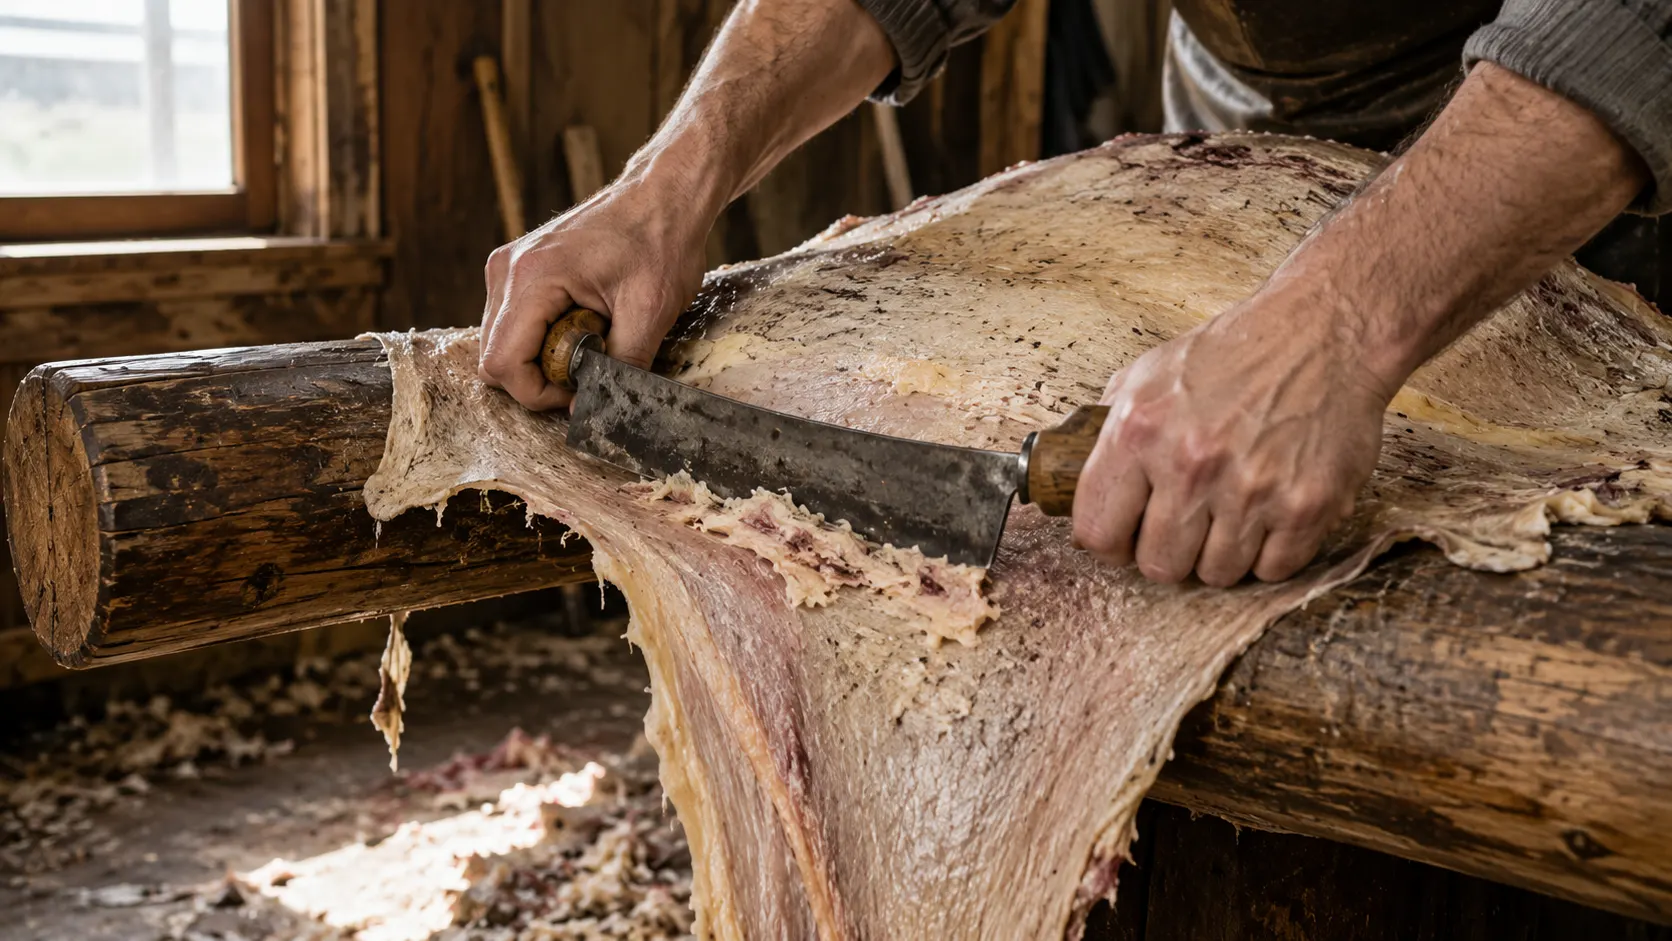
It helps the fleshing tool stick if there is a little meat or fat left on the hide. This gives you something to grip as you work. Take your time and be thorough. Any missed bits of fat or membrane will cause problems later in the tanning process.
Pro Tip: A dull knife is actually better than a sharp one for fleshing. A sharp knife can cut into the hide and damage the grain, while a dull knife scrapes away unwanted material without harming the skin itself.
Step 2 – Removing the Hair (Using Lime)
Once the hide is fleshed, the next step is to remove the hair. In traditional bark tanning, this is done by soaking the hide in a lime or lye solution. This alkaline solution causes the hair to slip, meaning it loosens at the root and can be removed with minimal effort.
Soak the hide in the lime solution and leave it for approximately three days. The exact time depends on the temperature warmer conditions speed up the process, while colder conditions slow it down. During this time, the lime breaks down the hair follicles and loosens the hair.
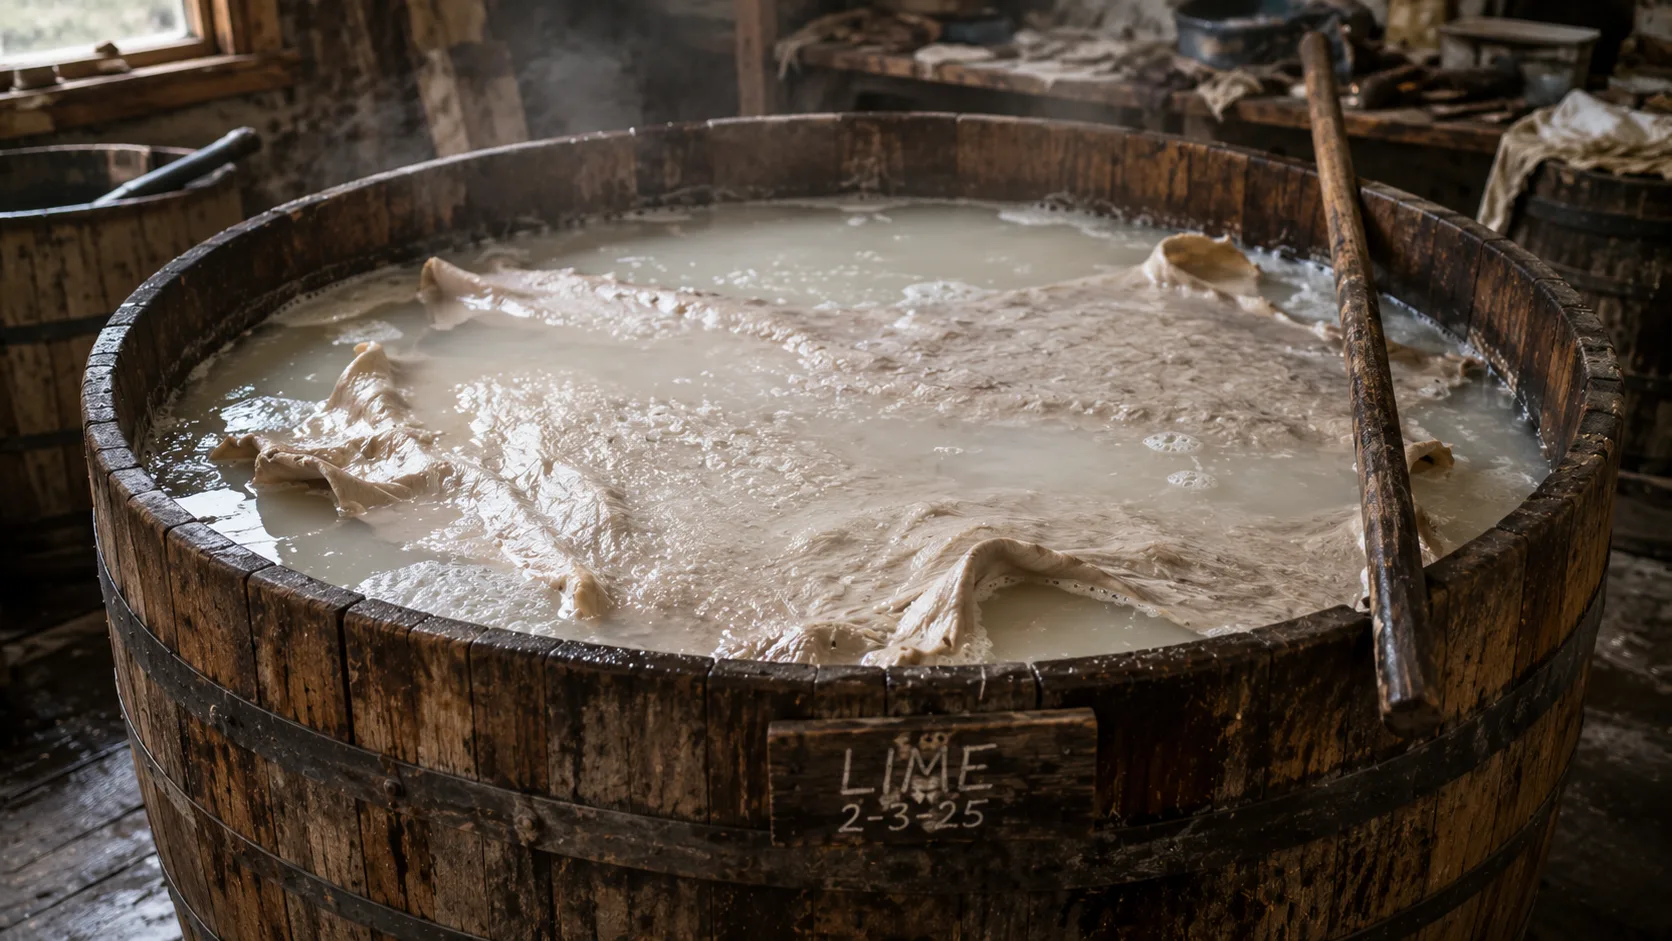
Important Safety Note: Lime water will dry your hands out, so wear gloves if you are sensitive to that. Always protect your skin when working with alkaline solutions.
After soaking, lay the hide over a curved beam and push the hair off using a scrap of wood. This is where the technique matters use a scrap of wood or a blunt scraper to push the hair off so you don’t damage the grain.
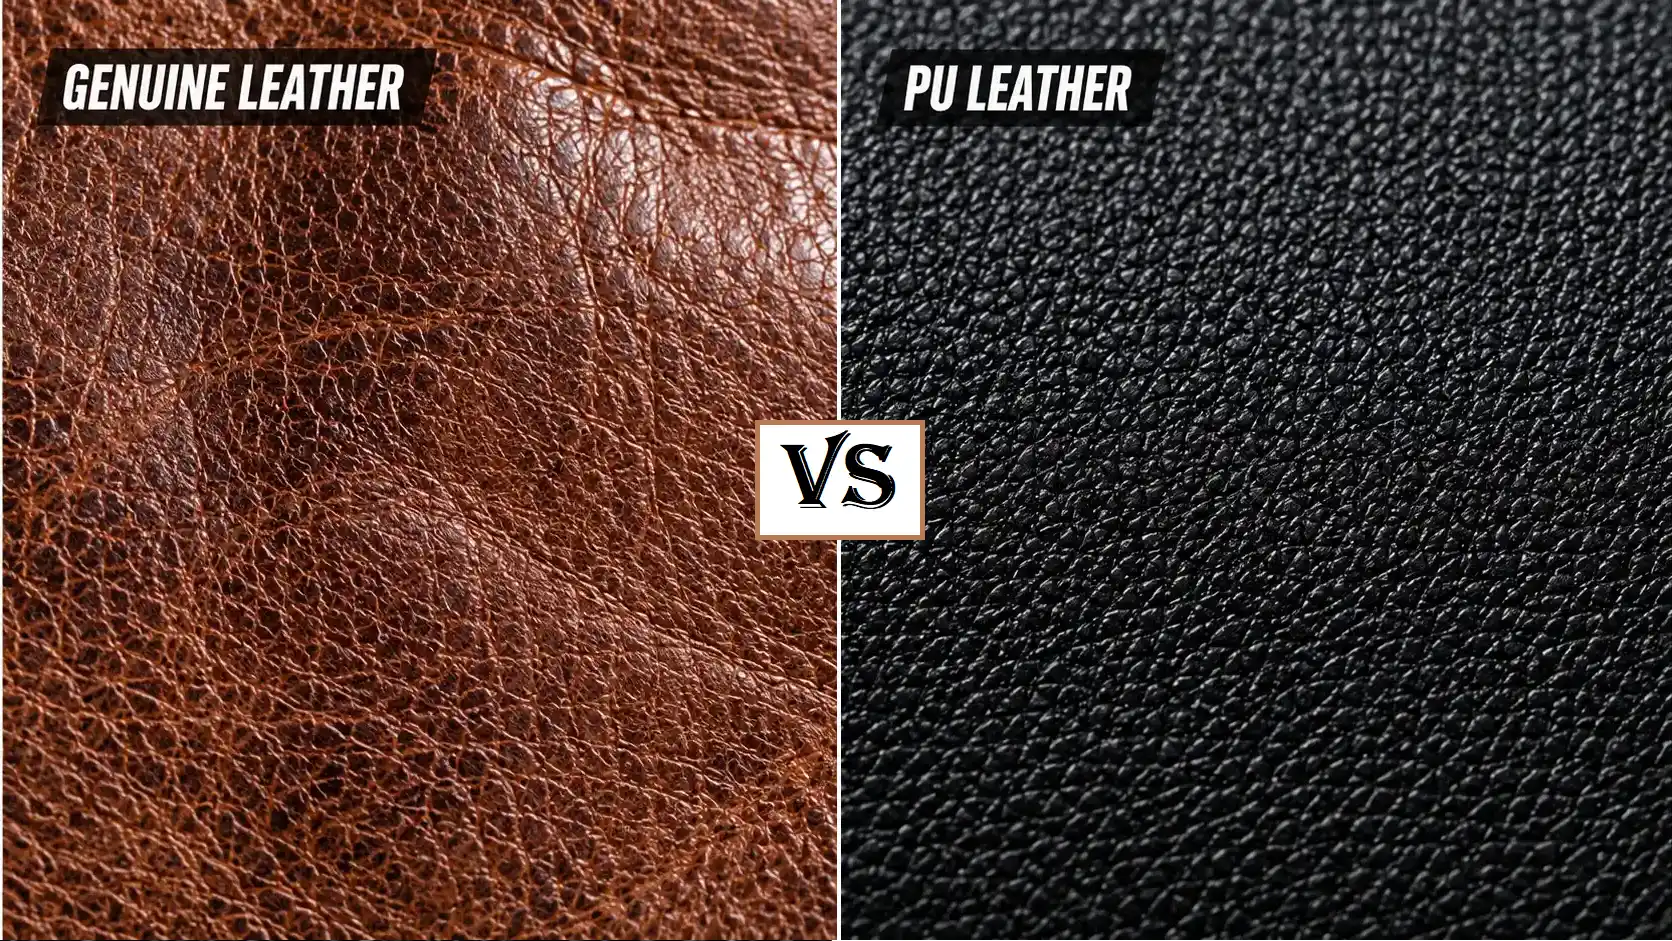
Understanding the Grain: The grain is the outer layer of the skin the skin side of leather. It is the smooth, shiny side that forms the finished surface of the leather. Protecting the grain during the unhairing process is essential because any damage to the grain will show in the finished leather.
Step 3 – Rinsing Out the Lime
Once the hair has been completely removed, you must rinse out the lime thoroughly. This step is critical because any residual lime left in the hide will interfere with the tanning process and can damage the leather.
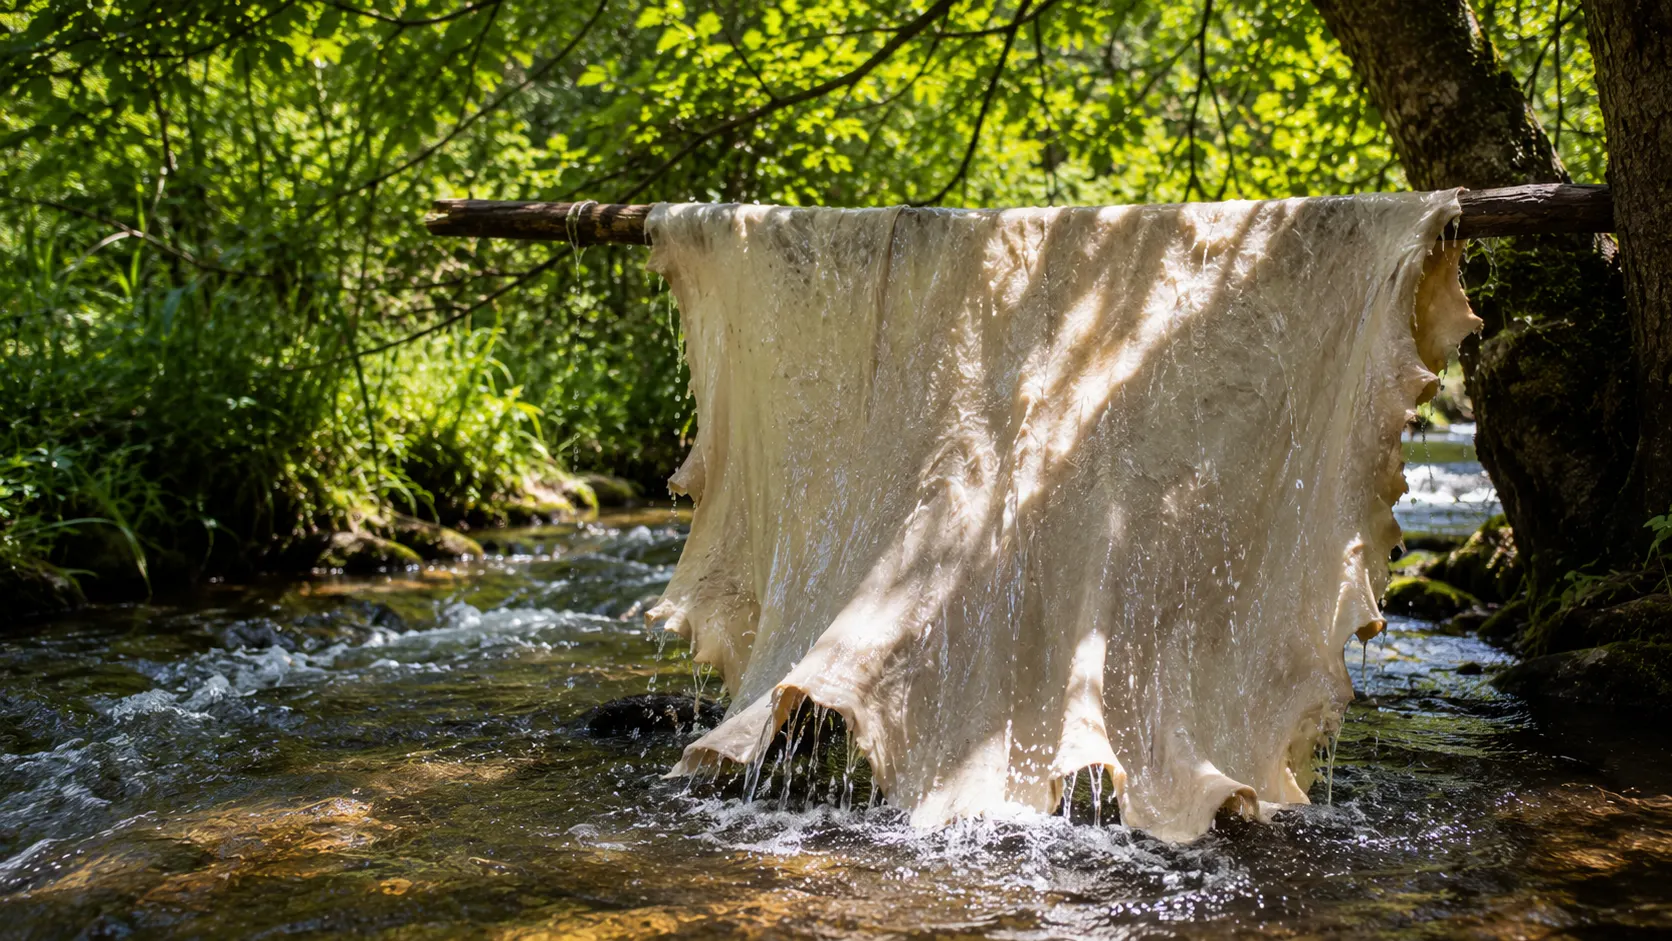
Soak the hide in multiple changes of water over several days. Better yet, if you have access to a running stream, soak the hide there. The constant flow of water will naturally wash away the lime more effectively than still water.
Keep changing the water regularly until the hide feels clean and the water remains clear. The hide is ready for the next step when it no longer feels slippery or soapy to the touch.
Step 4 – Preparing the Tanning Solution (Bark Tanning)
Now comes the heart of the bark tanning process: preparing the tanning solution. This is where the natural tannins from the bark are extracted to create a liquid that will preserve and transform the hide into leather.
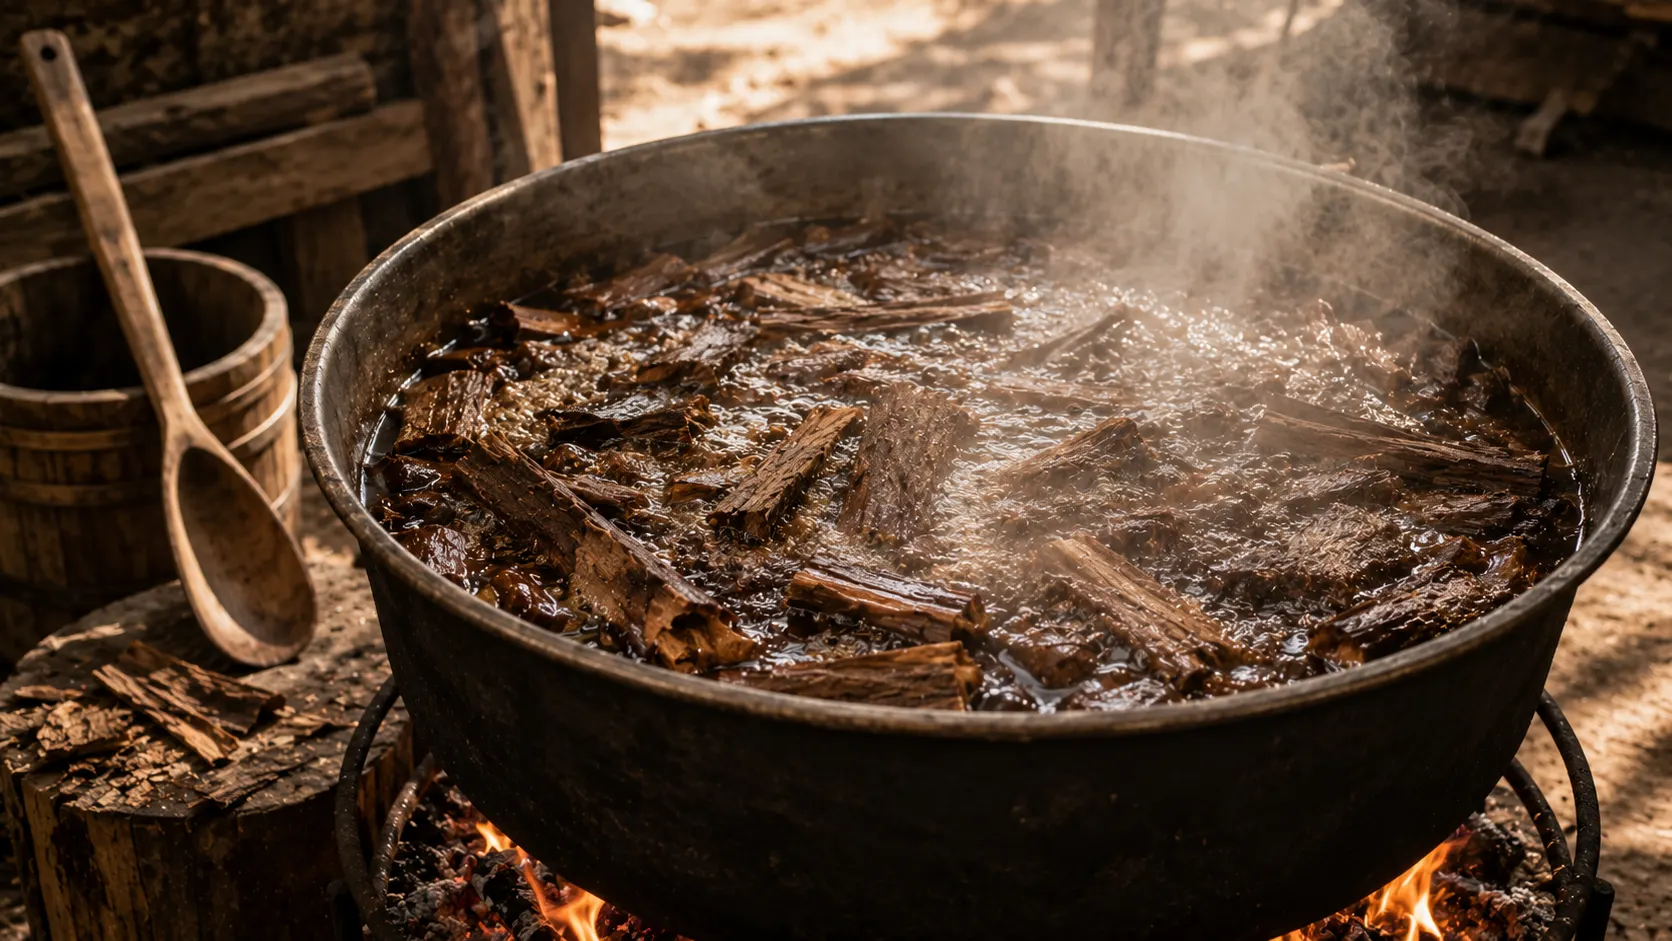
Choosing Your Bark
For this process, Douglas Fir bark is an excellent choice. However, many other species will work just as well. Oak bark is one of the most traditional choices and has been used for centuries. Hemlock, sumac, and willow bark are also rich in tannins.
Different bark species will create different qualities in leather. Some produce softer leather, while others produce firmer, more durable leather. The type of bark you choose depends on what you plan to use the leather for.
Preparing the Bark
Chop or break the bark into smaller pieces. Smaller pieces work better because they expose more surface area to the water, allowing the tannins to extract more efficiently.
Making the Tanning Liquor
Place the bark pieces in a large container and cover them with water. Heat the water until it is hot but not boiling. Let it steep overnight and cool. The tannins will gradually leach out of the bark and into the water, creating a dark brown liquid.
You can get several boils off one batch of bark. After the first batch of tannin liquid is used, you can add more water and boil the same bark again to extract additional tannins.
Storing the Solution
Let the solution steep overnight and cool completely before using it. The tanning solution should be cool before you put the hide in it. Hot liquid can damage the hide and affect the quality of the final leather.
Step 5 – The Tanning Process
Once your tanning solution is ready, it is time to tan the hide. This is the longest and most crucial stage of the entire process.
The hide has been soaked for three days with a hose trickling into the container to keep the water fresh. You will know the hide is ready for the tanning solution when it stays compressed when pinched meaning the fibers have relaxed and are ready to absorb the tannins.
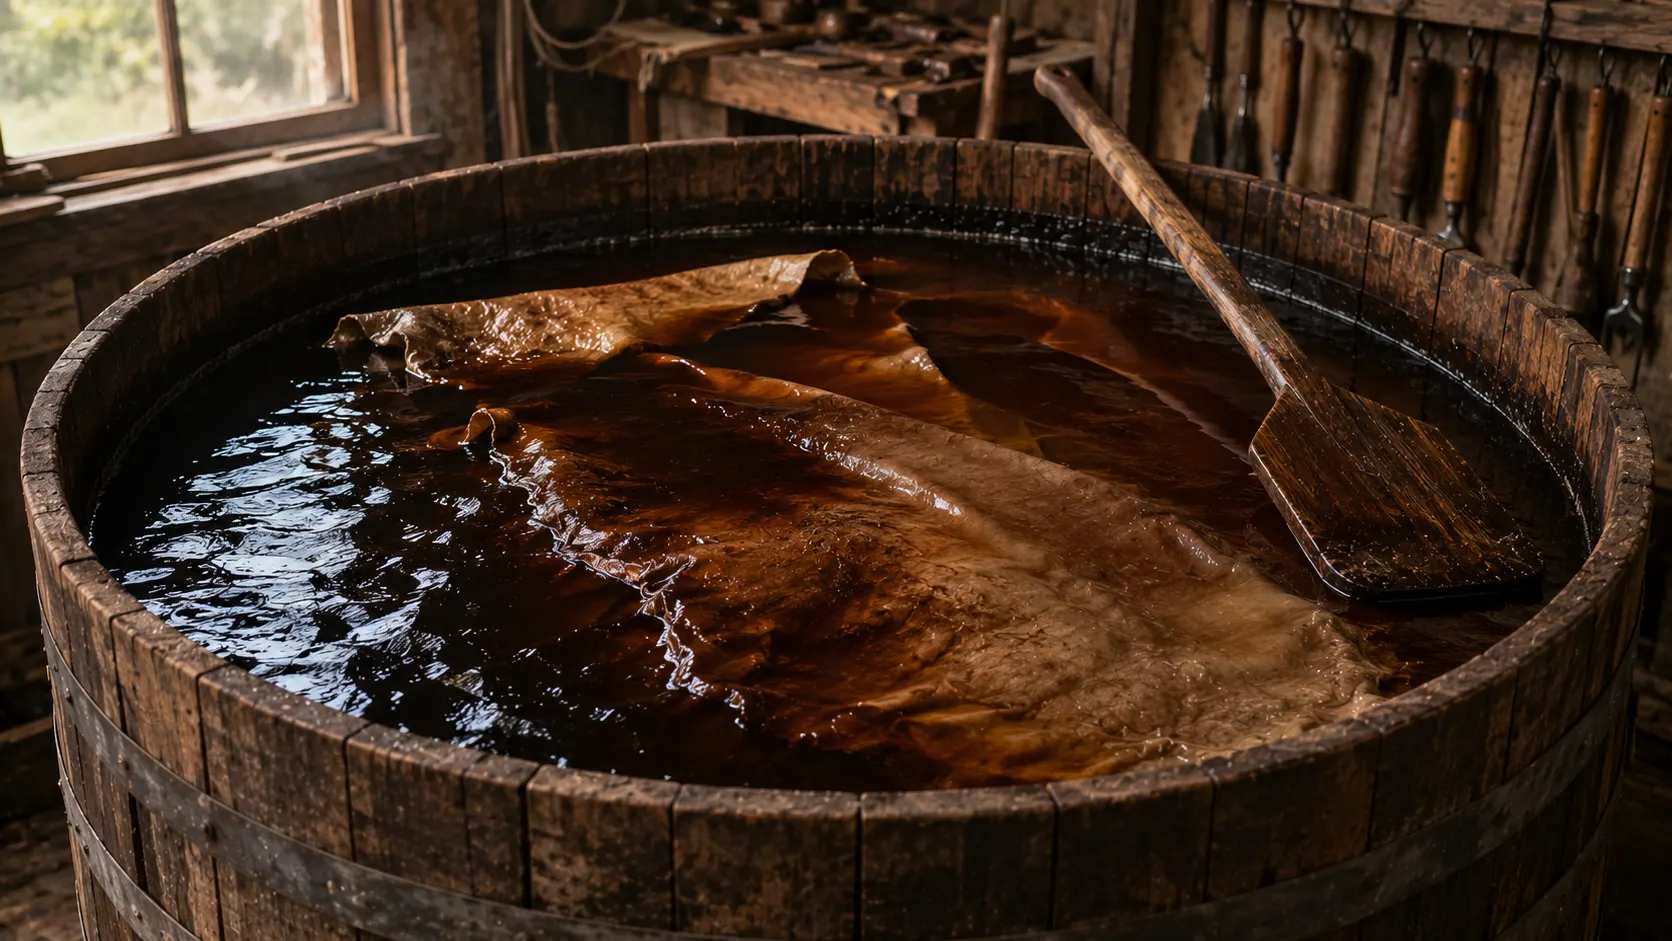
Into the Bark Tannins It Goes
Submerge the hide completely in the tanning solution. In just a few days, the hide will start to take on a brown color. However, do not be fooled it is far from fully tanned. The color change is just the beginning.
Daily Care
Stir the hide every day or two. As the hide absorbs the tannins, the solution will lose its color and become translucent. This is a sign that the tannins have been absorbed and it is time for a new batch.
Replacing the Solution
When the old solution becomes weak and translucent, pour it out and replace it with a fresh batch. Always make sure the new liquid is cool before putting the hide back in.
Checking Progress
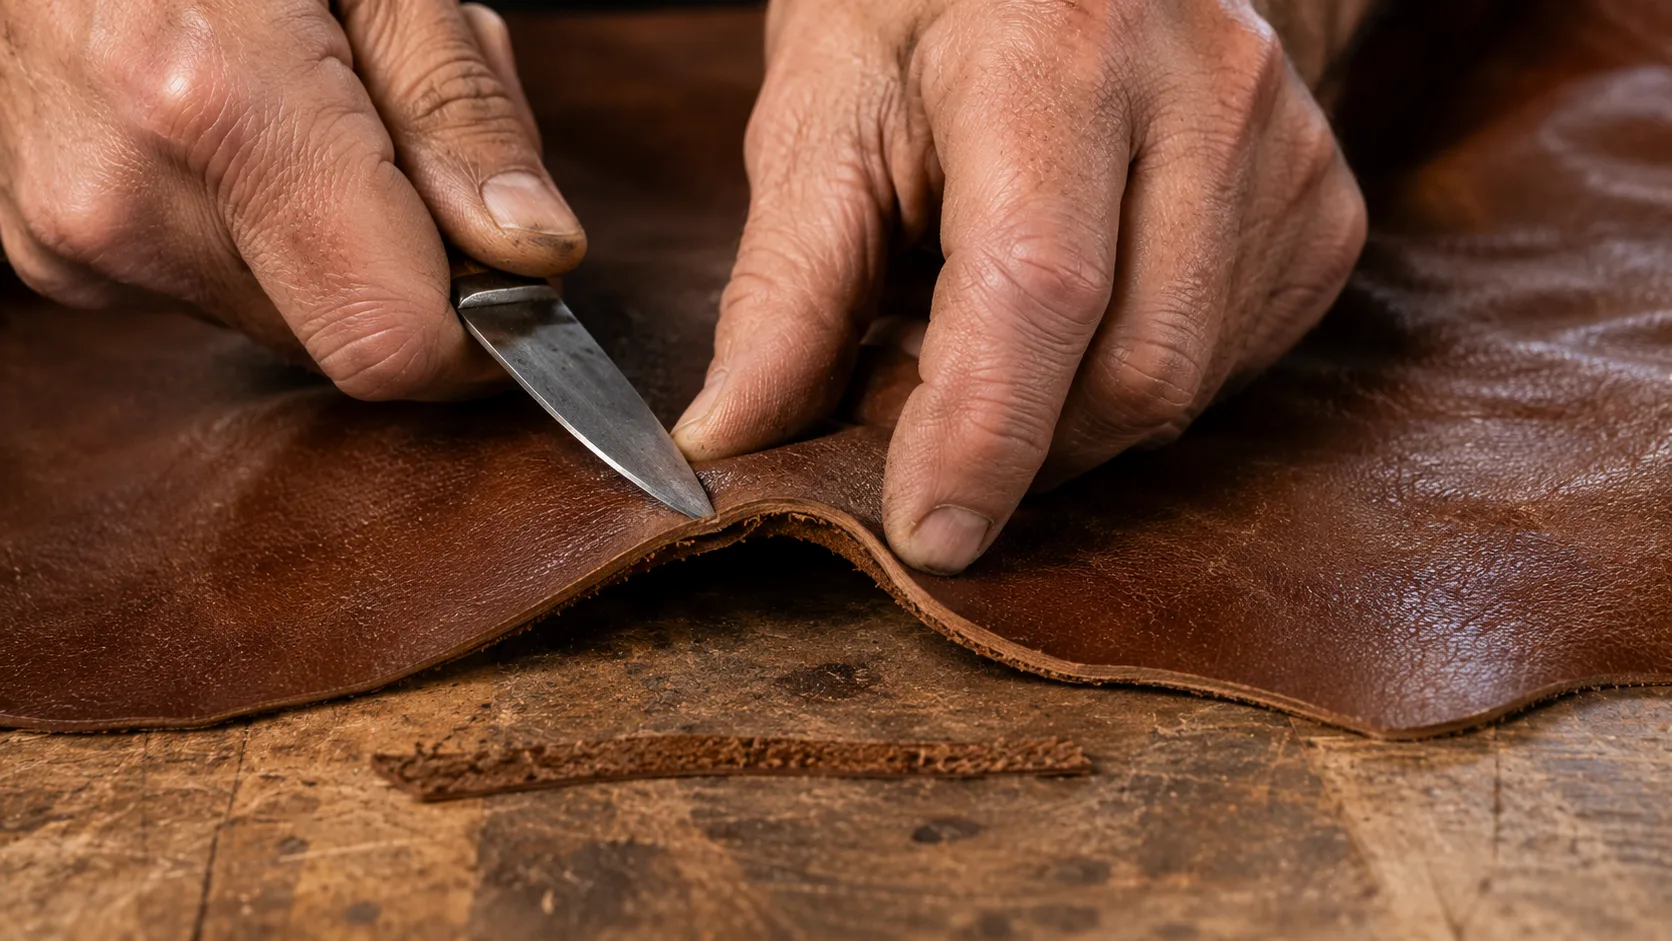
If you want to check how far the tannins have penetrated, slice a small piece off the thickest part of the hide. The tannins will have turned the leather brown all the way through when fully tanned. This is the only way to know for sure that the tanning is complete.
Beaming the Hide
Beaming the hide every few days will speed up the absorption of tannins. It also helps remove any remaining membrane. Beaming involves stretching the hide over a beam and working it to open up the fibers.
Step 6 – Knowing When It’s Done
After three months or longer depending on the thickness of the hide and the temperature the tannin’s have penetrated through to the thickest parts of the hide. The tanning process takes time. You cannot rush nature.
When the hide is completely tanned, it will have a uniform brown color throughout. The leather will feel firm but not hard. It is now ready for the final steps.
A Note on Time: The tanning operation varies in time from three weeks to three months, depending on the type of hide being tanned and its thickness. A thick elk hide typically takes about three months, while thinner deer or goat hides may take less time.
Step 7 – Squeegeeing and Oiling
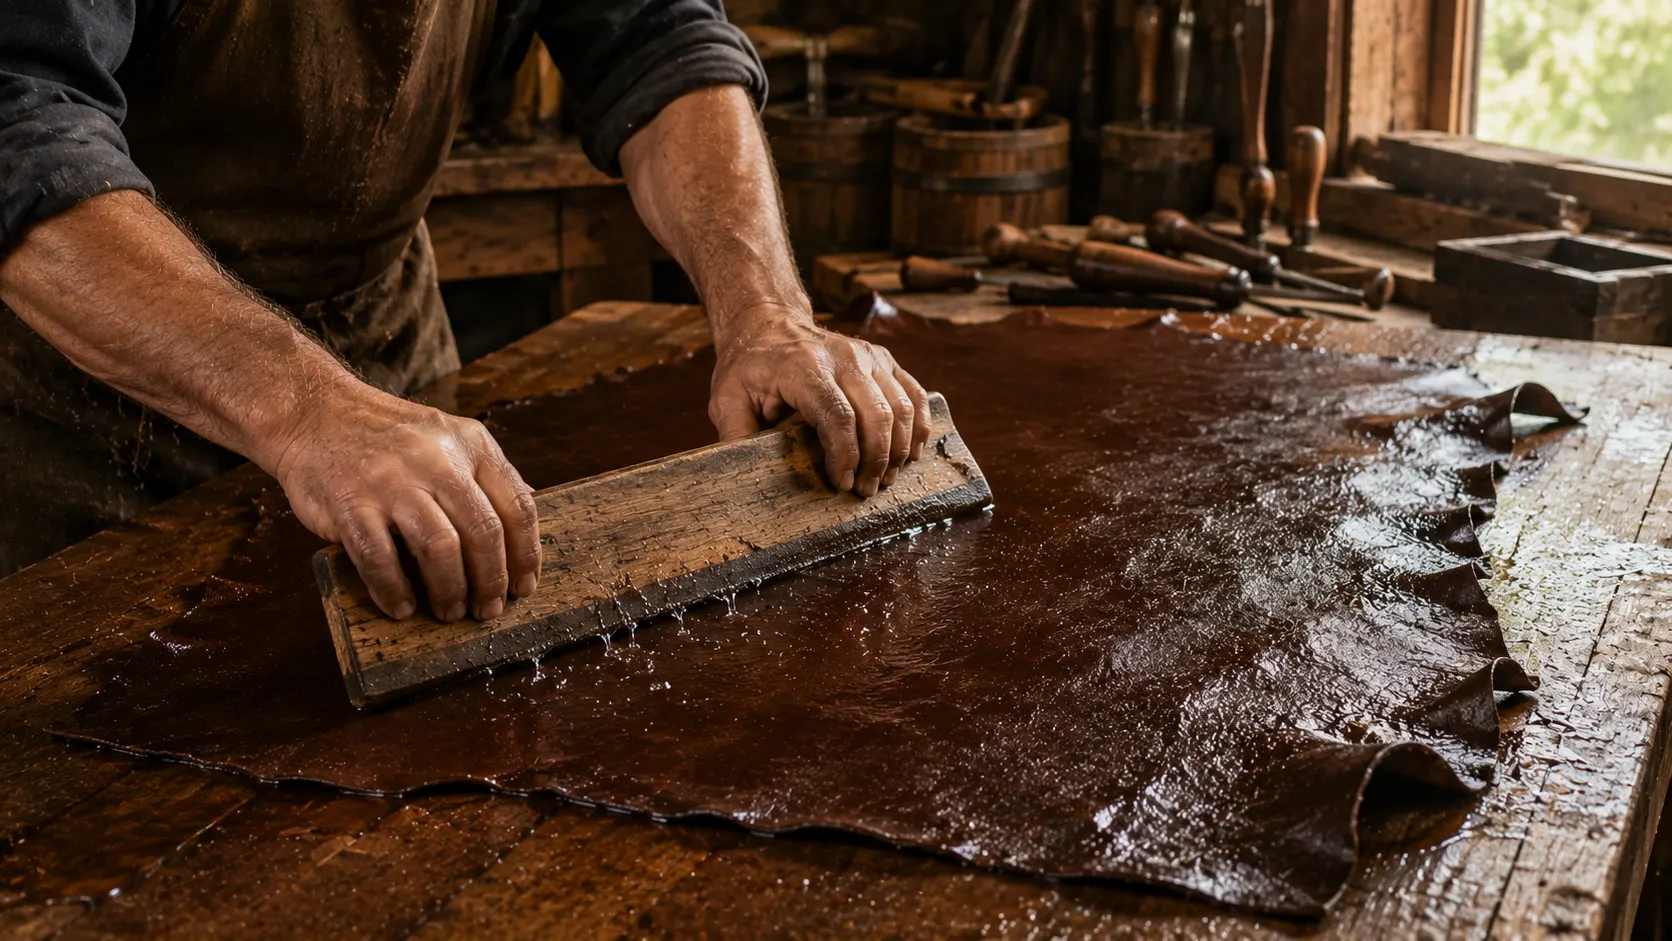
Once the tanning process is complete, the leather will be wet. The next step is to remove excess water and begin conditioning the leather.
Squeegeeing
Using a squeegee or a smooth piece of wood, gently push the excess water from the hide. Only do this from the flesh side so the grain is not damaged. Working from the flesh side ensures that the smooth grain surface remains unmarked and beautiful.
Oiling
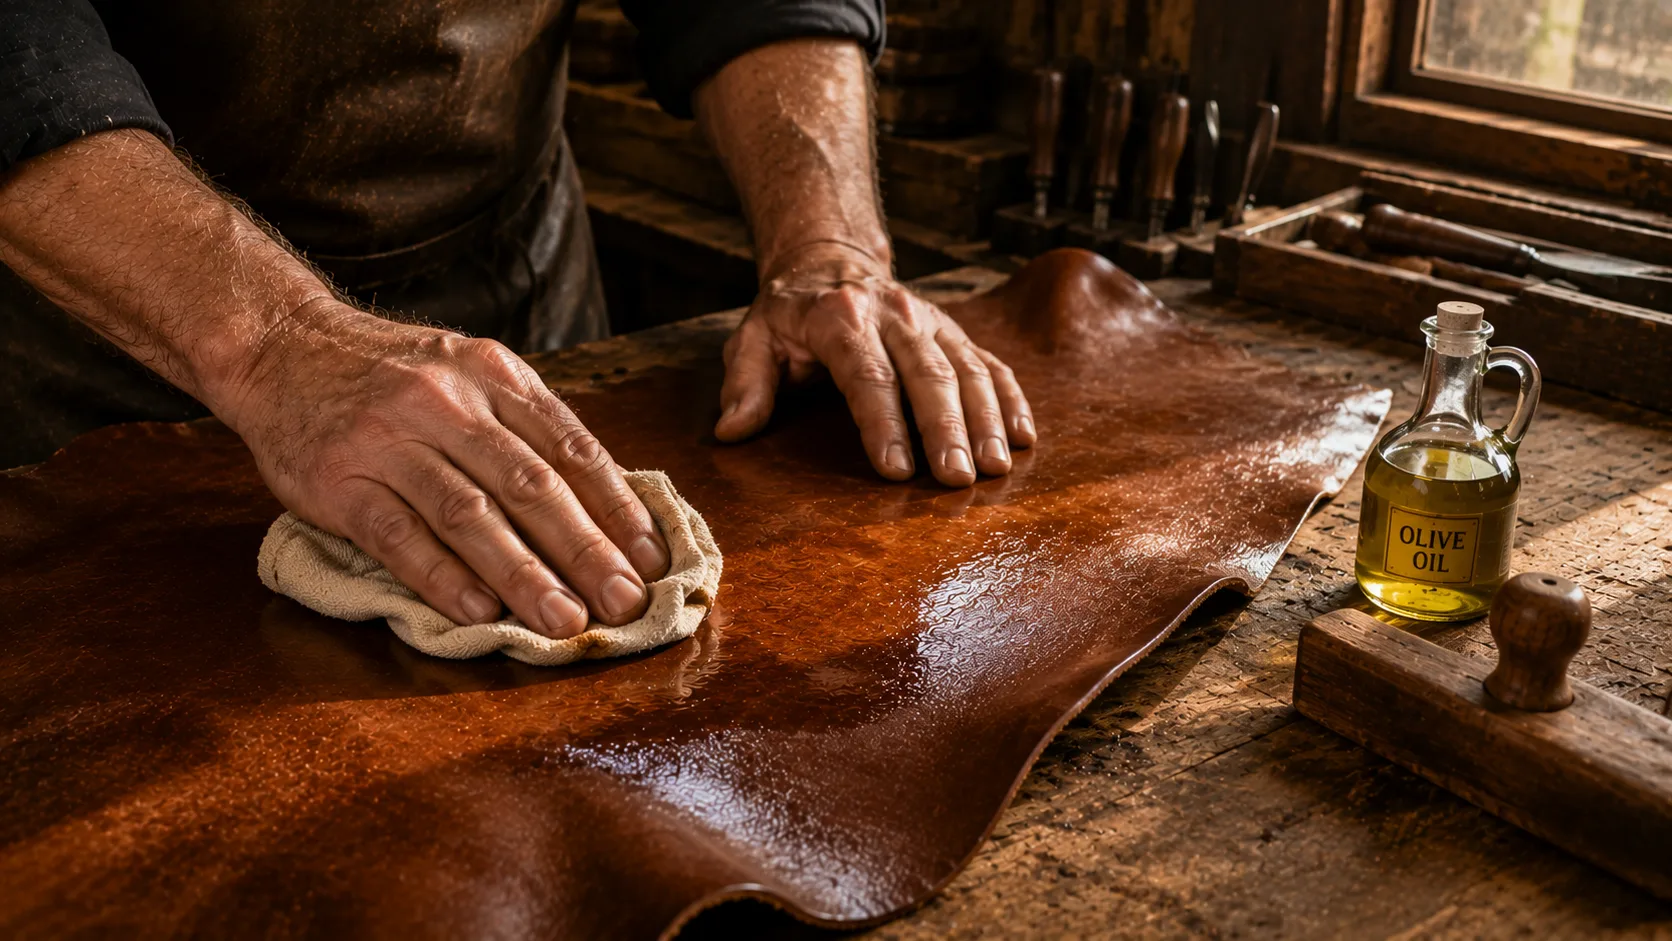
The hide is now ready to begin absorbing oils. This step is essential for making the leather soft and pliable. For this process, you can use a mixture of bison tallow and olive oil. The oils lubricate the fibers and prevent the leather from becoming stiff and brittle as it dries.
Working the Oil In
A wooden slicker helps distribute the oil evenly and flatten the hide. Work the oil into the leather using long, smooth strokes. At this point, if the hide is large, cutting it in half allows it to lay flat and makes the oiling process much easier.
Step 8 – Working the Hide as It Dries
For a more pliable leather, it is important to work the hide as it dries. This is where you transform stiff, wet leather into soft, flexible material.
Rolling and Stretching
Rolling the hide by hand every so often is all that is needed. This is much easier than brain tanning, where you have to stretch the hide continuously for hours. With bark tanning, rolling it periodically as it dries is sufficient to produce beautiful, pliable leather.
Patience Pays Off
Take your time with this step. Rushing the drying process can result in stiff, hard leather. Allowing the leather to dry slowly and working it regularly produces the best results.
Step 9 – The Finished Leather
After months of work fleshing, unhairing, rinsing, tanning in bark liquor, oiling, and working your leather is finally ready. All done and ready for making something beautiful.
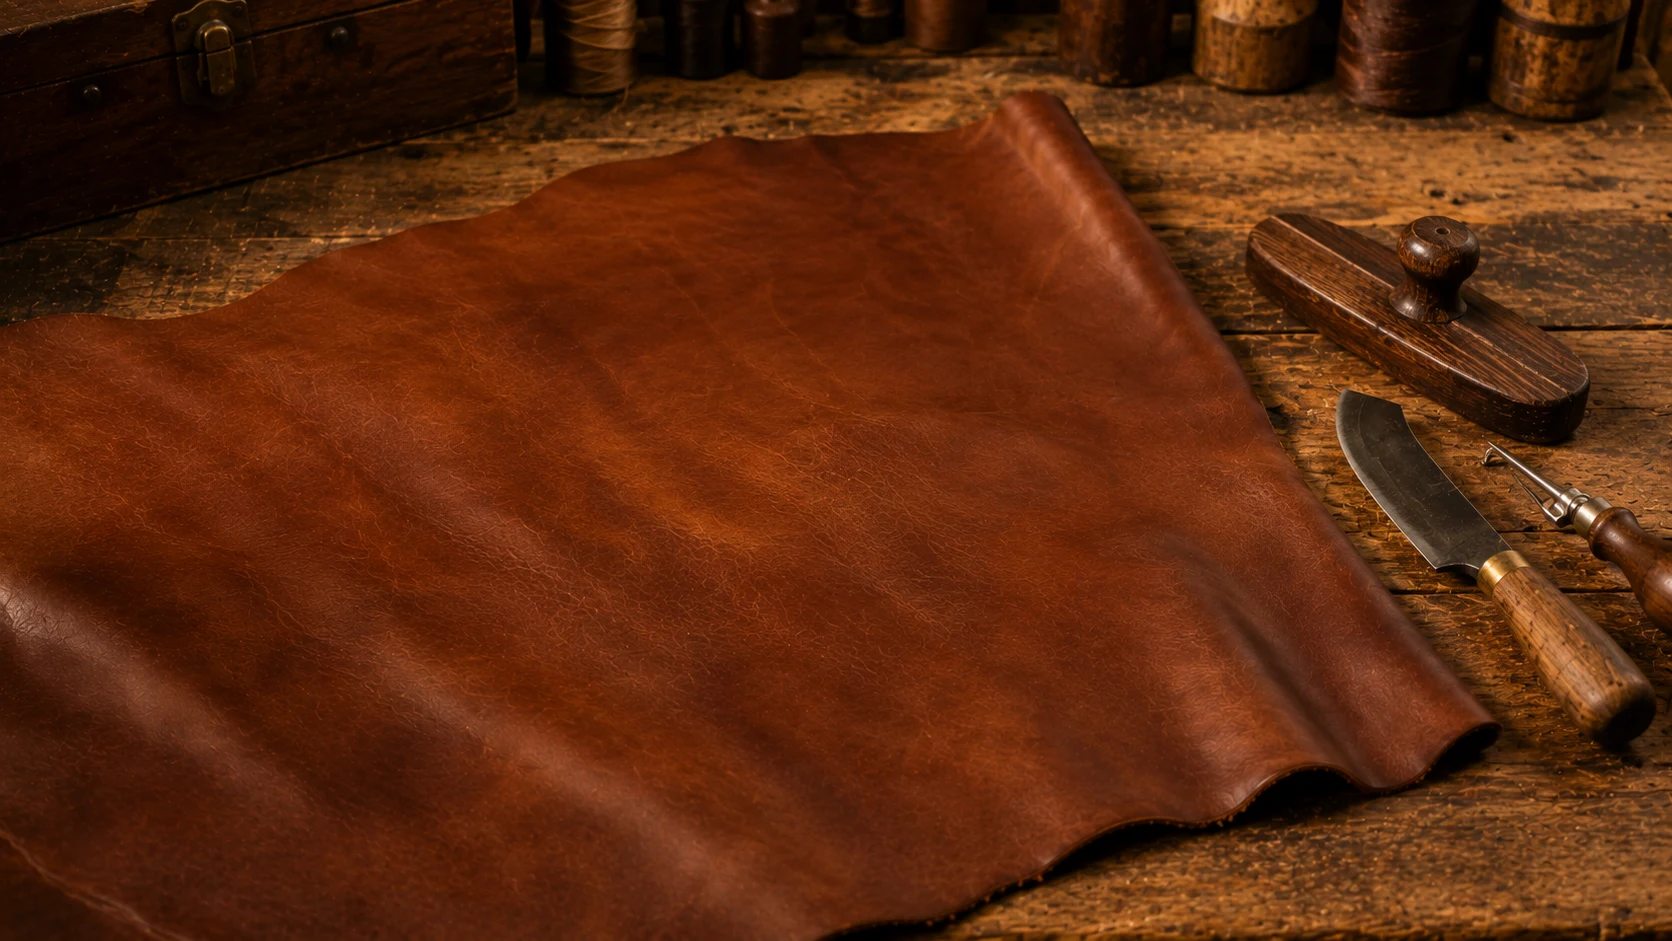
The finished leather from this process is all-natural, durable, and perfect for all kinds of leathercrafting projects. You can use it to make:
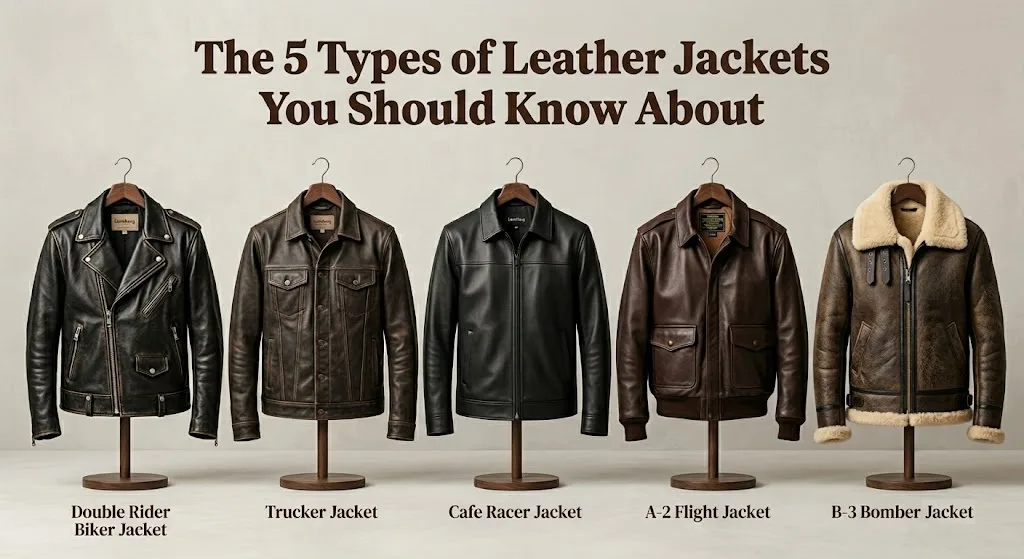
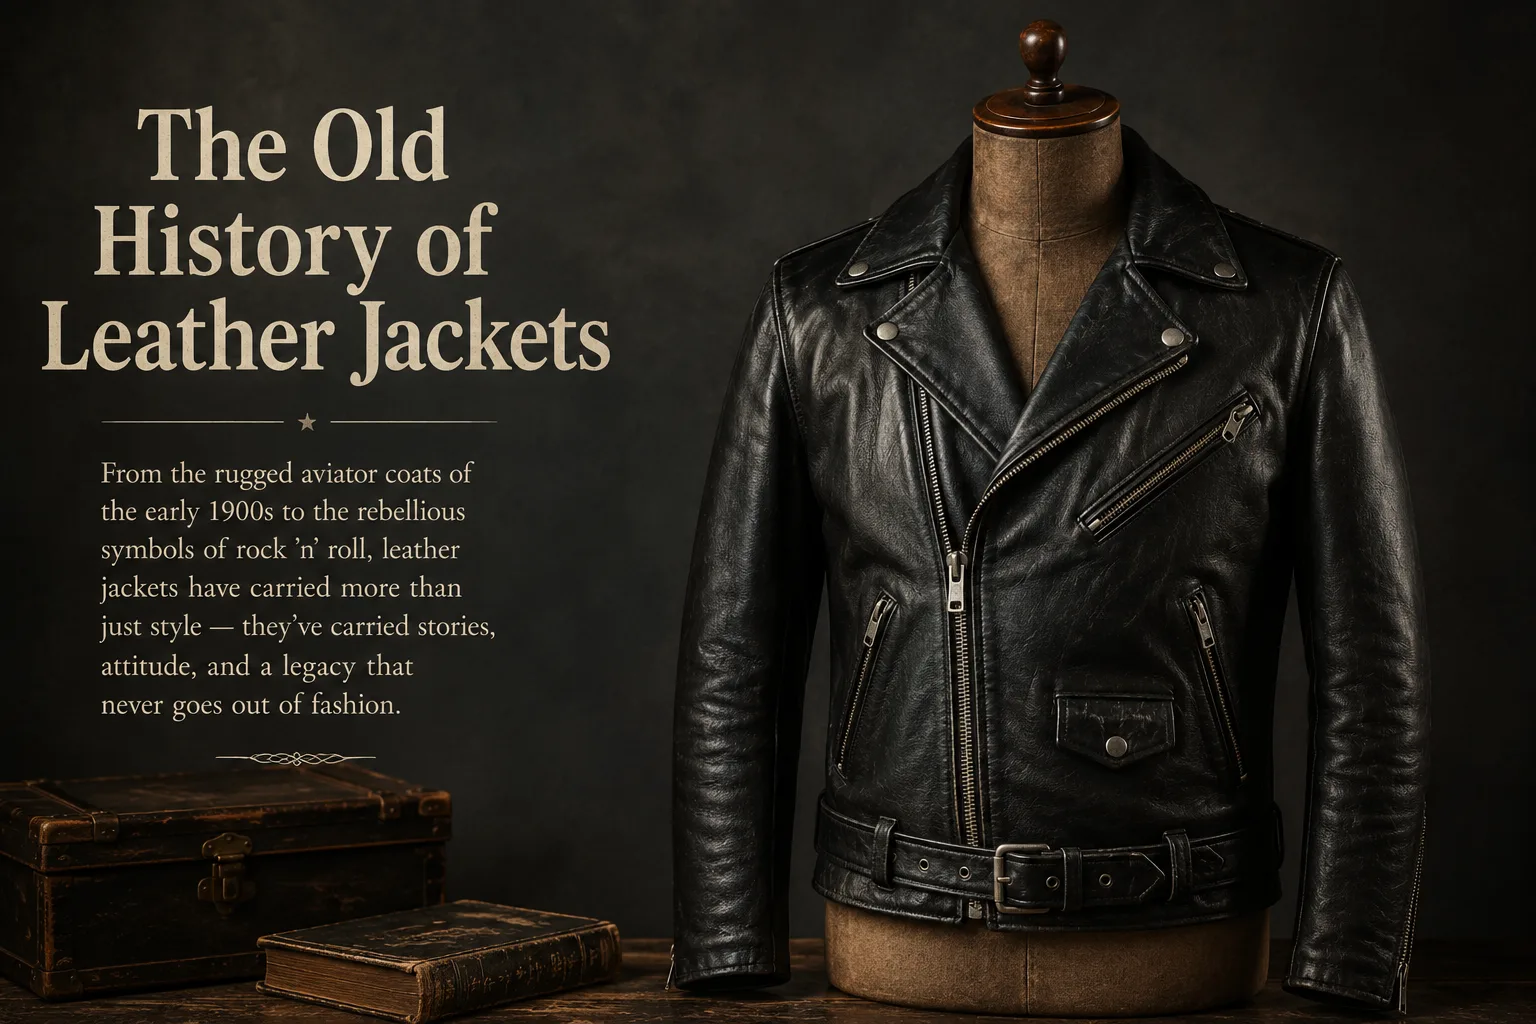
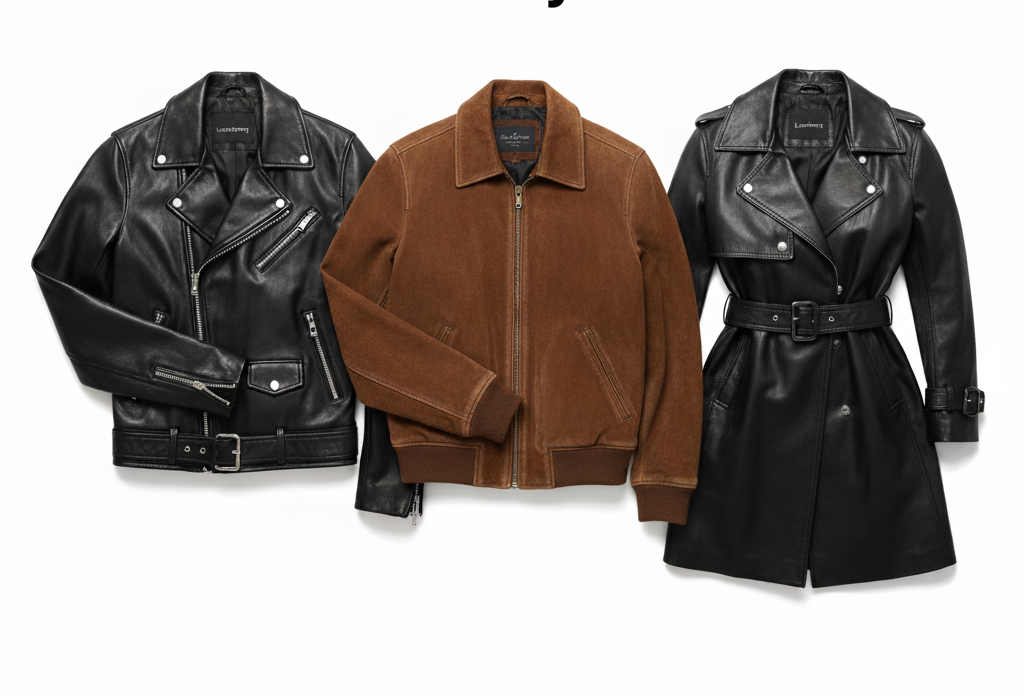
Leather Jackets – Create a timeless piece that will last for decades. Explore leather jacket styles for inspiration.
Boots – Durable, comfortable footwear that molds to your feet over time.
Belts – Strong, long-lasting accessories that develop character with age.
Bags – Beautiful, functional bags that get better with use.
Knife Sheaths and Tool Pouches – Custom-fit protection for your tools.
What you make with your leather is limited only by your imagination. And the satisfaction of knowing you made the leather yourself from start to finish is priceless.
Common Mistakes to Avoid
1. Rushing the Process
Tanning takes time. Weeks or months. Do not rush any step. Every stage is important for producing quality leather.
2. Not Removing All Flesh and Fat
Any remaining flesh or fat will rot and ruin your leather. Take your time during the fleshing step and be thorough.
3. Using Hot Tanning Solution
Always make sure your bark solution is cool before putting the hide in. Heat can damage the hide.
4. Damaging the Grain
Protect the grain surface at all costs. The grain is what makes leather beautiful. Always work from the flesh side whenever possible.
5. Not Changing the Tanning Solution
When the solution becomes translucent, it is time for a new batch. The hide cannot absorb tannins from exhausted liquid.
Frequently Asked Questions
Q: How long does bark tanning take?
A: The tanning process takes anywhere from three weeks to three months, depending on the thickness of the hide and the temperature. Thicker hides like elk take longer than thinner hides like deer.
Q: What bark is best for tanning?
A: Douglas Fir bark works well, as do oak bark, hemlock, sumac, and willow. Different barks produce different qualities in leather.
Q: Why do I need to use lime?
A: Lime is used to loosen the hair on the hide, making it easy to remove. It breaks down the hair follicles so the hair slips off.
Q: How do I know when the tanning is complete?
A: The hide is fully tanned when the tannins have penetrated all the way through the thickest parts of the skin. You can check by slicing a small piece off the thickest part.
Q: Can I use this leather for clothing?
A: Yes. With proper oiling and working during drying, bark-tanned leather can be soft enough for clothing and jackets. Learn how to style your leather jacket once it’s ready.
Q: What oil should I use for conditioning?
A: A mixture of bison tallow and olive oil works well. You can also use neatsfoot oil or other natural oils. Proper leather care ensures longevity.
Q: How should I store my finished leather?
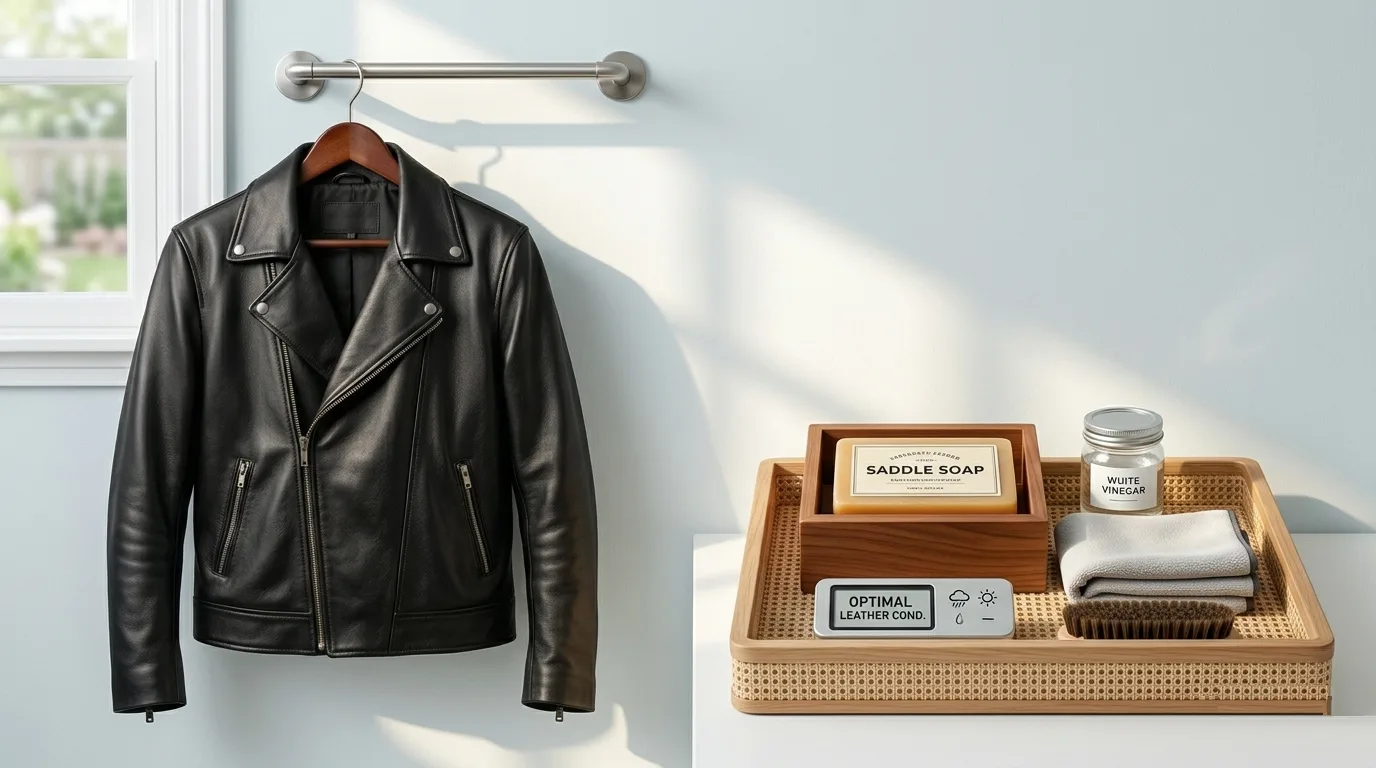
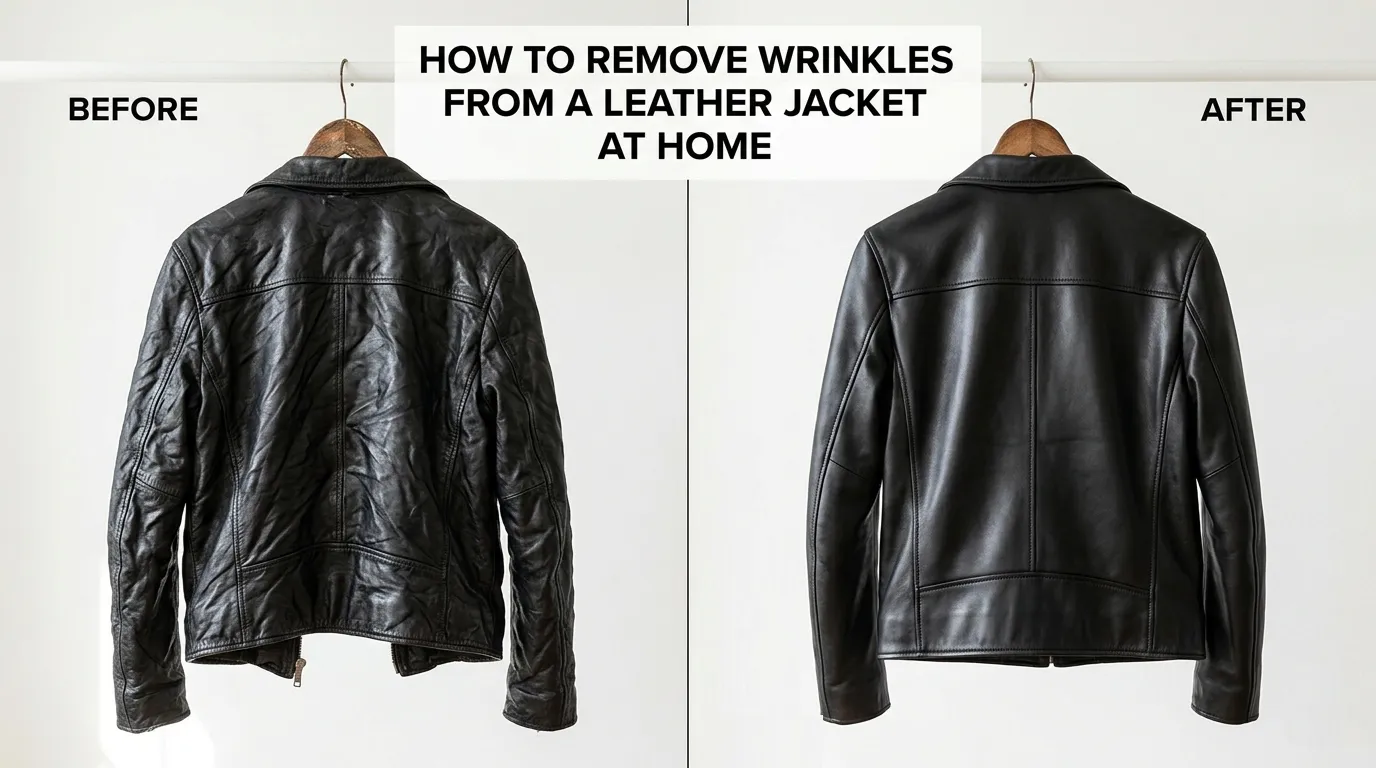
A: Store your leather in a cool, dry place on a wide hanger. Avoid folding or exposing it to direct sunlight. Learn how to keep your leather wrinkle-free for years to come.
Final Thoughts
Making leather from animal skins using all-natural bark tanning methods is a rewarding and deeply satisfying process. It connects you to an ancient tradition that has been practiced for thousands of years. It teaches patience, self-reliance, and respect for the materials we use.
The leather you produce using these methods will be strong, beautiful, and entirely natural free from the synthetic chemicals that dominate modern leather production. Whether you use it to make boots, a jacket, a bag, or any other leathercrafting project, the finished product will carry the story of its creation.
Remember, the key to great leather is patience. Each step takes time, and rushing any stage will affect the final quality. But when you hold your finished piece of leather in your hands, knowing you created it from start to finish using nothing but natural materials, you will understand why this craft has survived for thousands of years.
Ready to try bark tanning yourself? Start with a smaller hide like deer or goat to build your skills before moving on to larger hides like elk or cow. And remember your most important tool is patience.
Explore Premium Leather Jackets
If you’re inspired by the leather-making process but don’t have the time or resources to tan your own hide, explore our collection of premium handcrafted leather jackets:
- Men’s Leather Jackets
- Women’s Leather Jackets
- Winter Leather Jackets
- Suede Jackets
- Custom Leather Jackets
Related Articles
- How to Remove Cigarette Smell from Leather Jacket
- How to Remove Wrinkles from a Leather Jacket
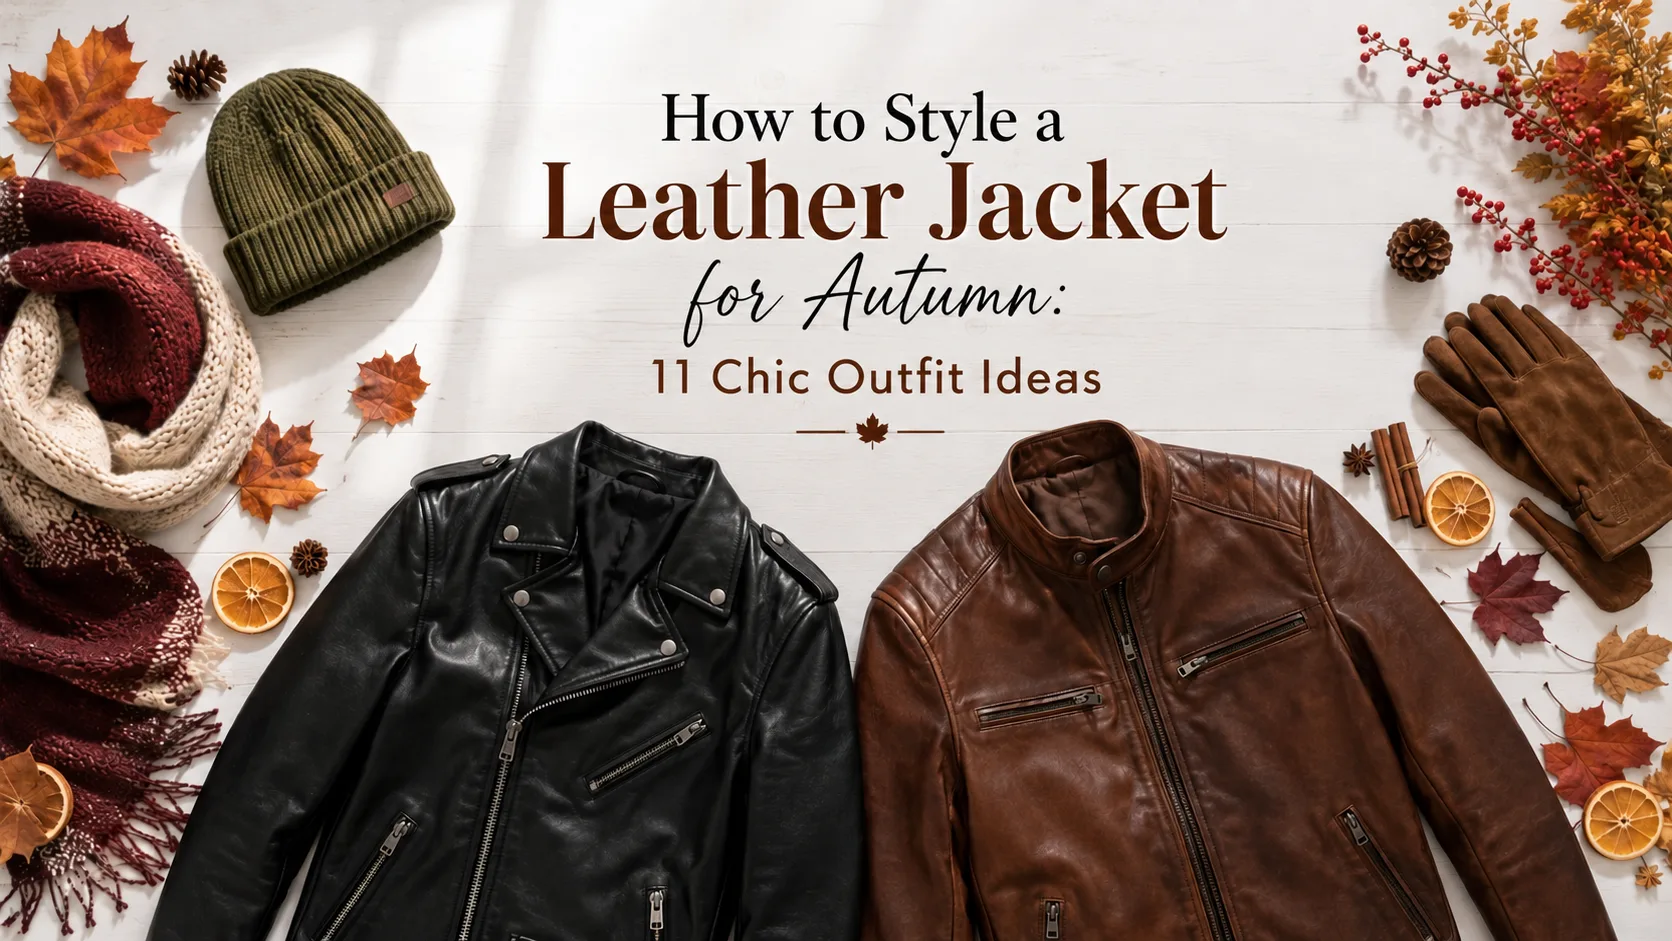
- How to Style a Leather Jacket for Men
- The Ultimate Leather Jacket Size Guide
- How to Get Smell Out of Leather Jacket – The Ultimate Guide
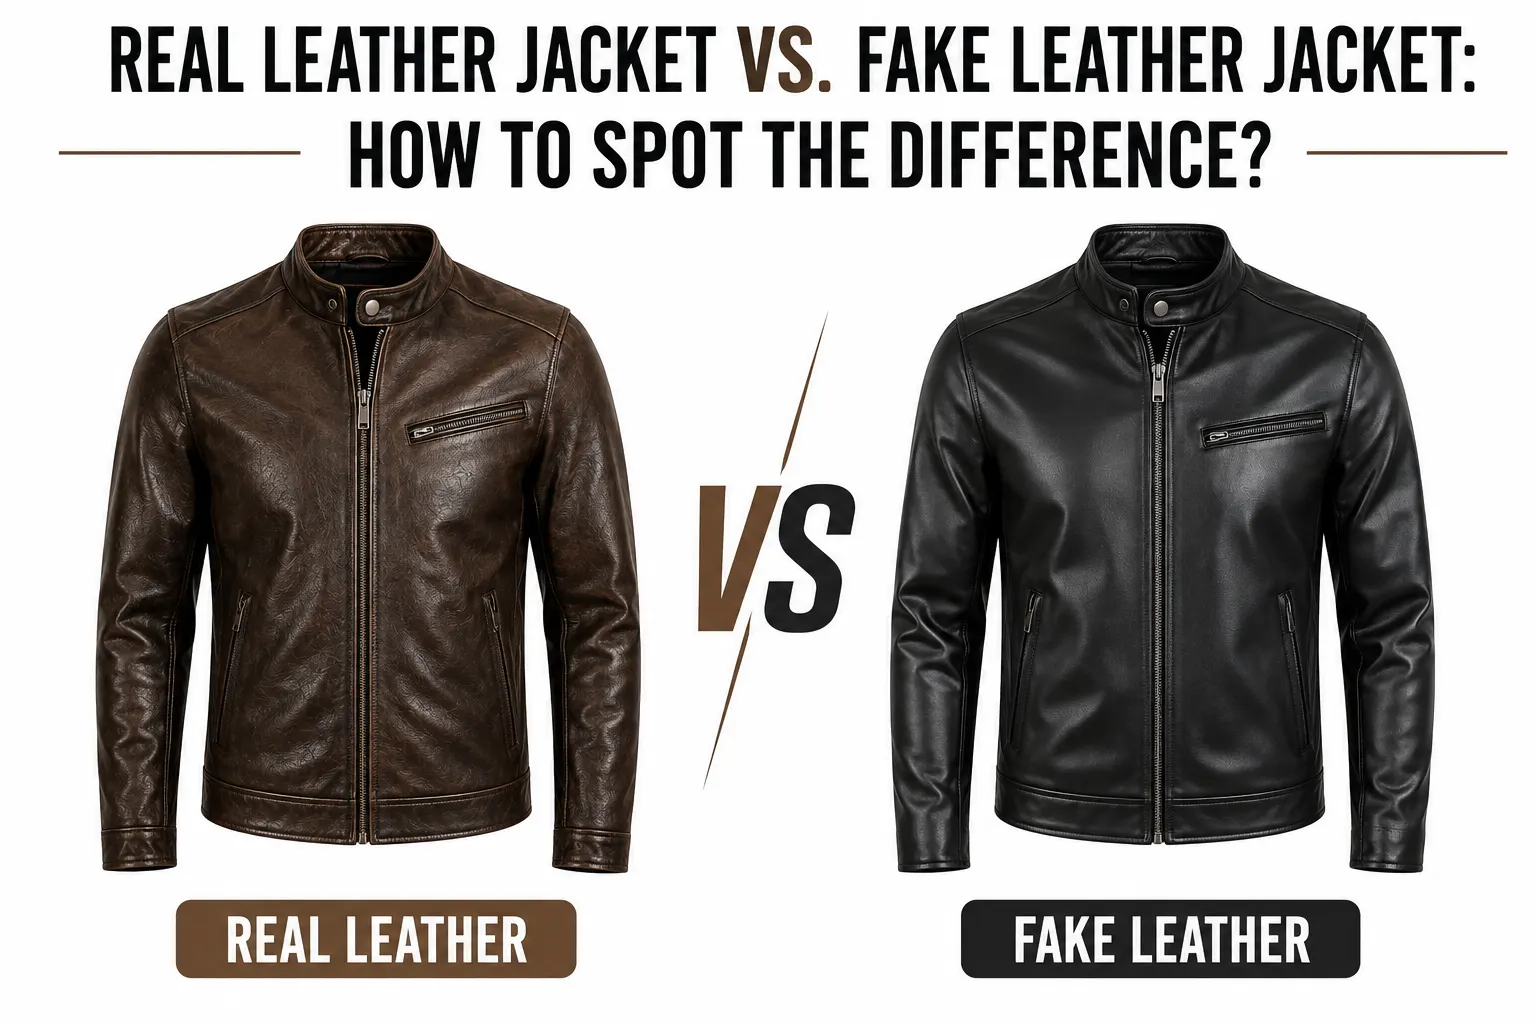
- Real vs Fake Leather Jackets – How to Spot the Difference
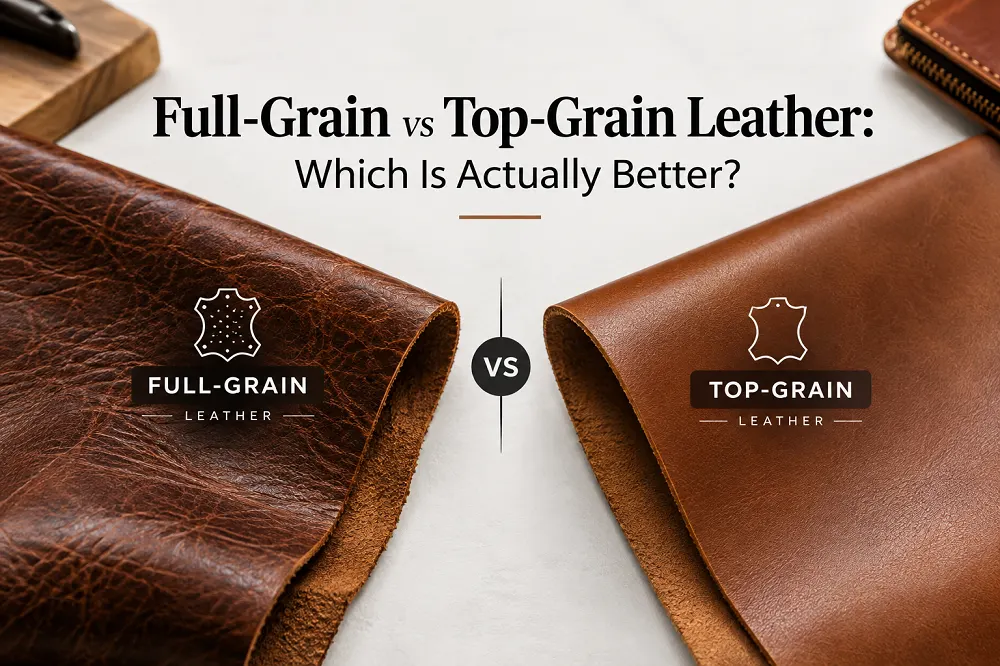
- Full-Grain vs Top-Grain Leather: Which Is Actually Better?

































Global Leather Industry: What Each Country Does Best
What Is Bison Leather? Durability, Uses & Cowhide Comparison